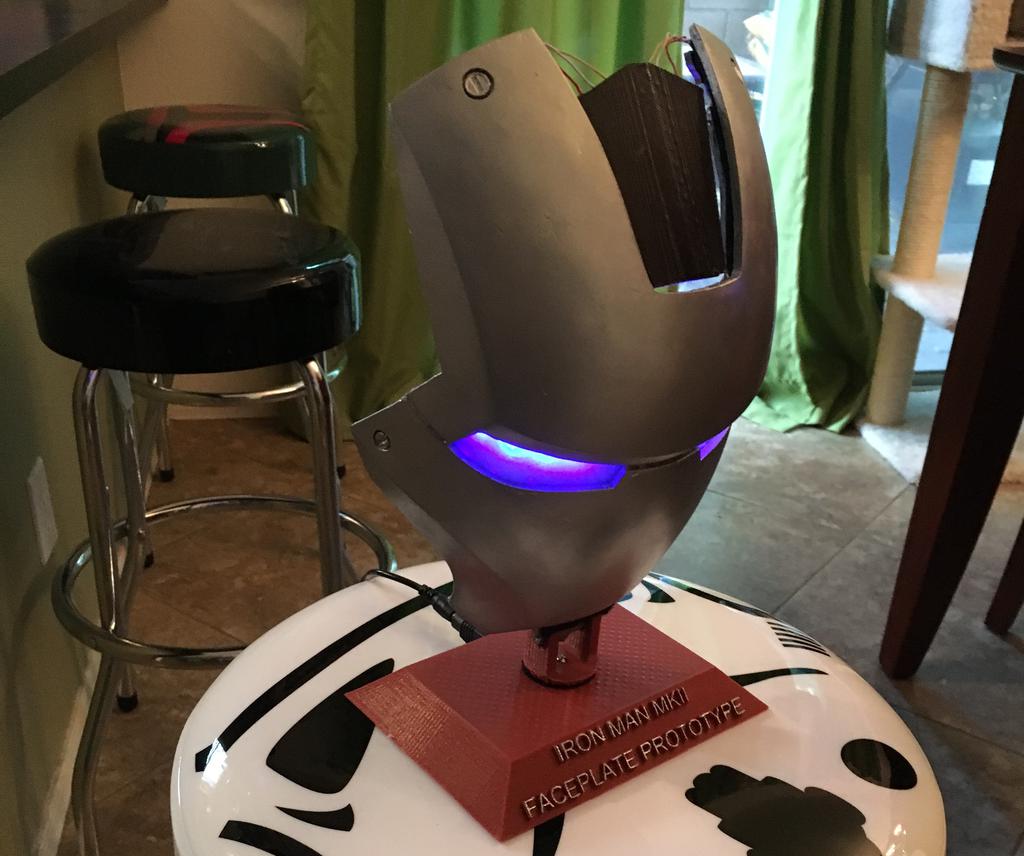
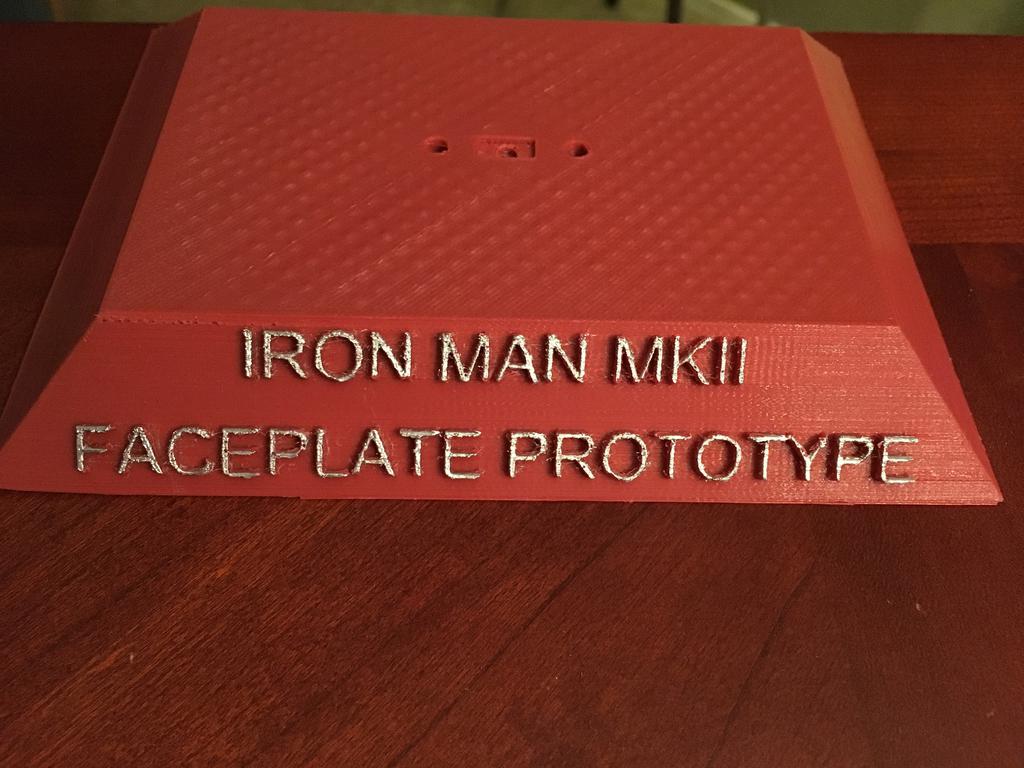
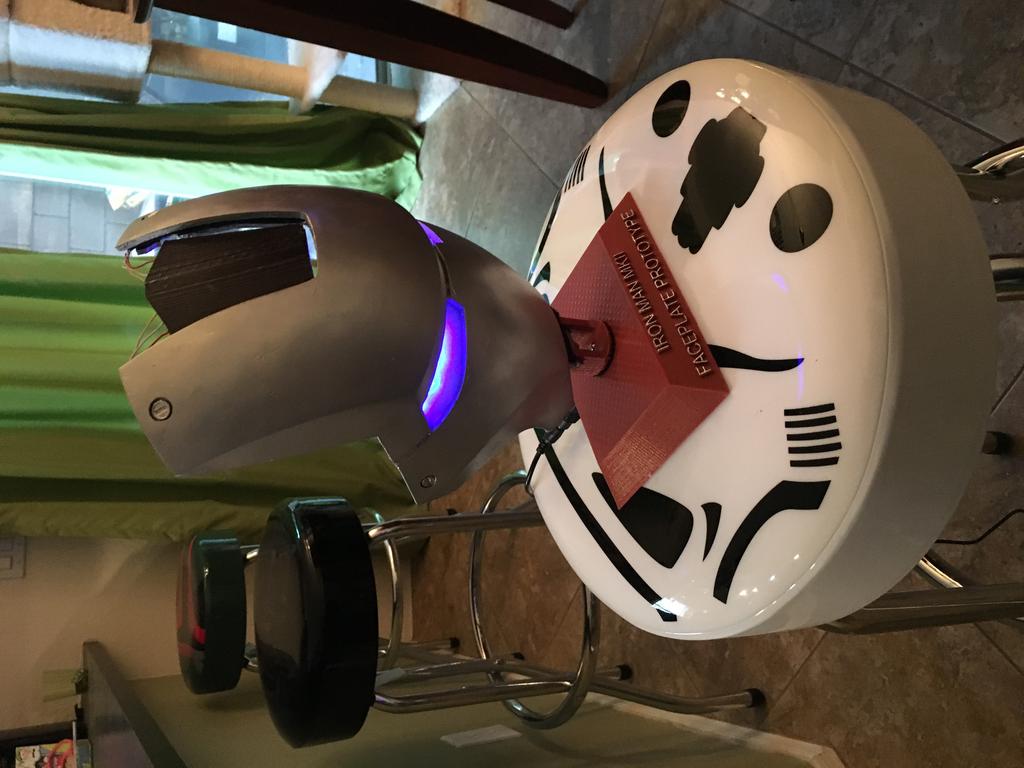
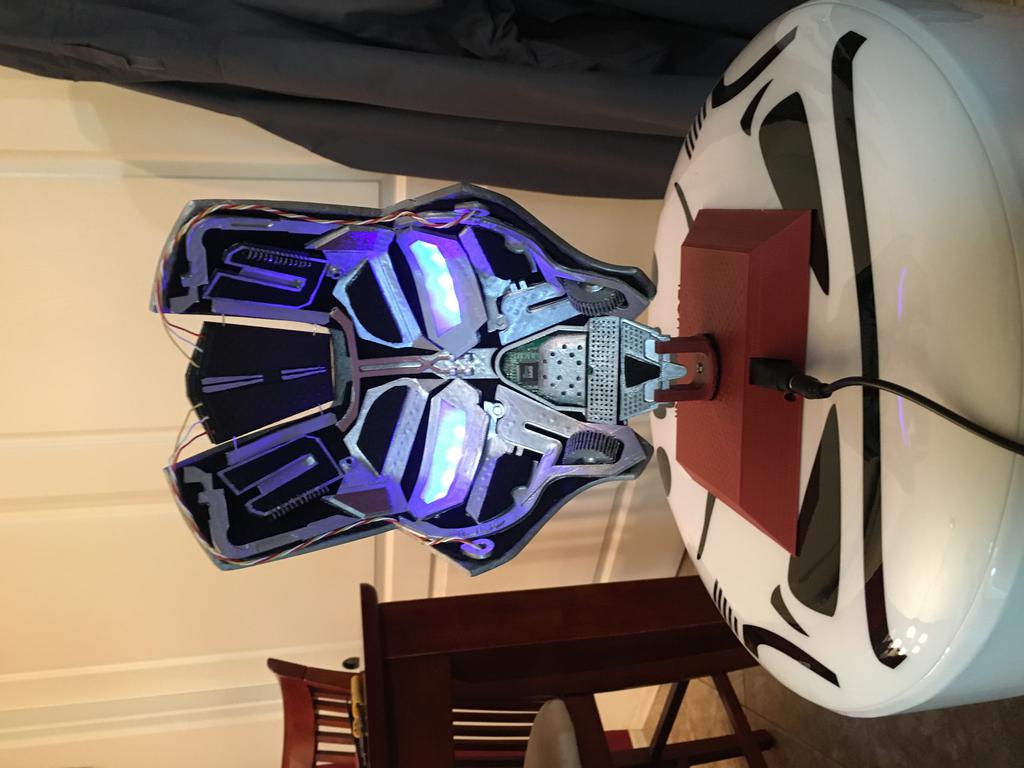
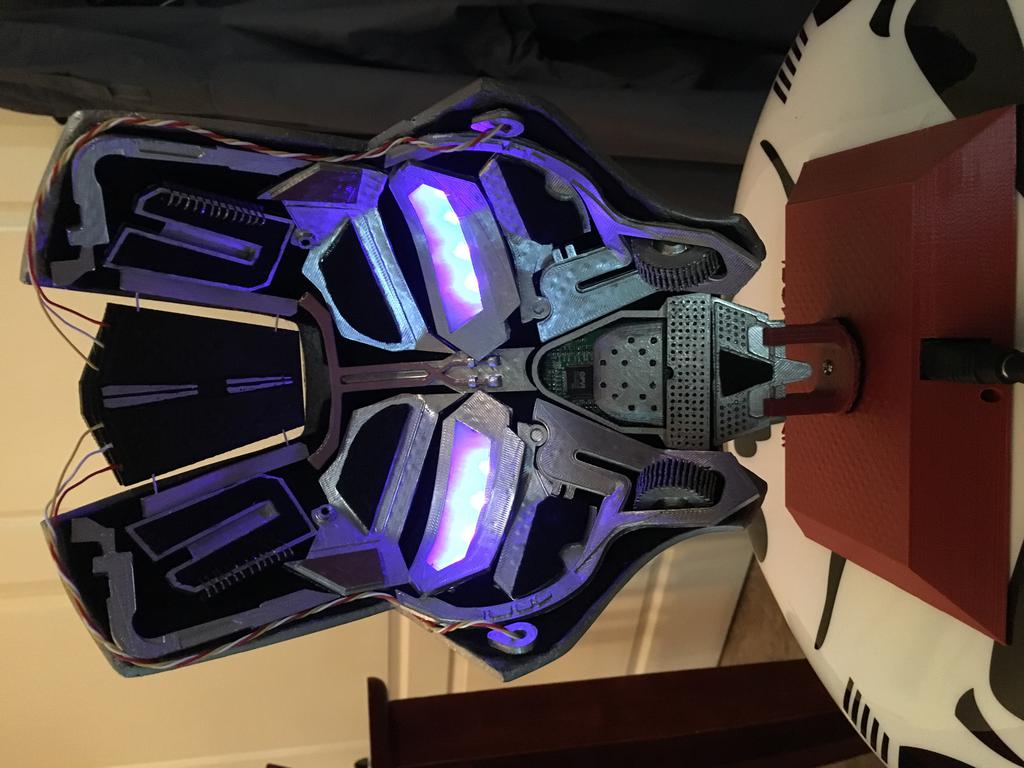
We're building an Iron Man Mark II Mask/Faceplate
You can find the models and information to make your own over at Thingiverse.com Thing 2081613.
You can find the models and information to make your own over at Thingiverse.com Thing 2081613.
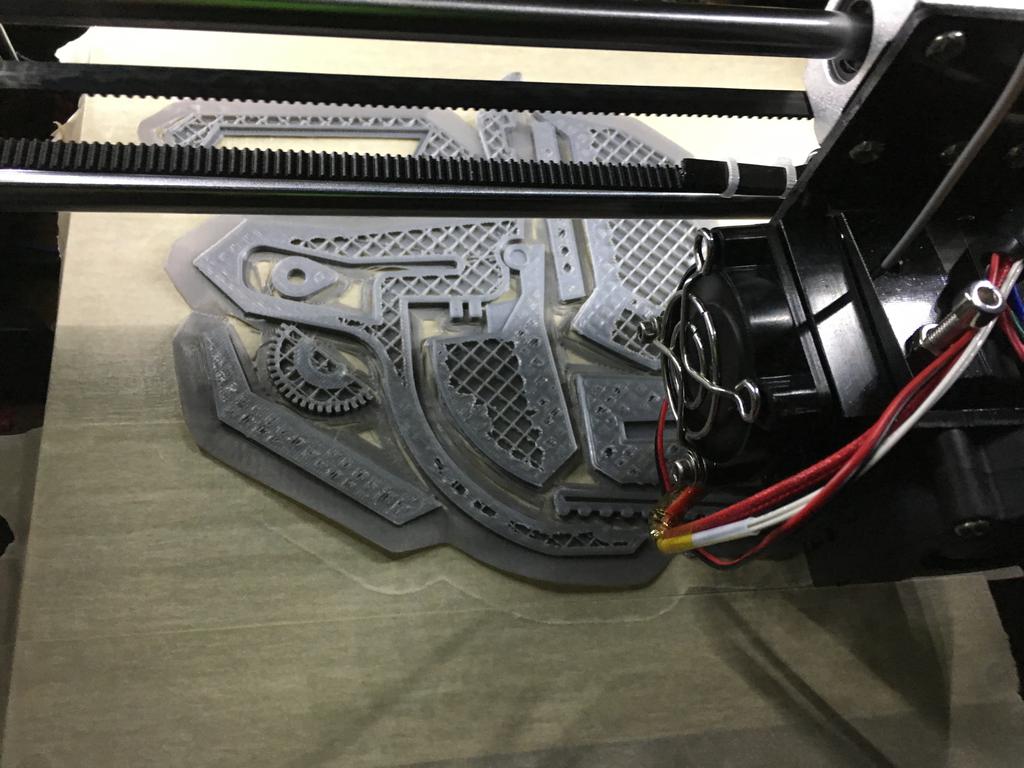
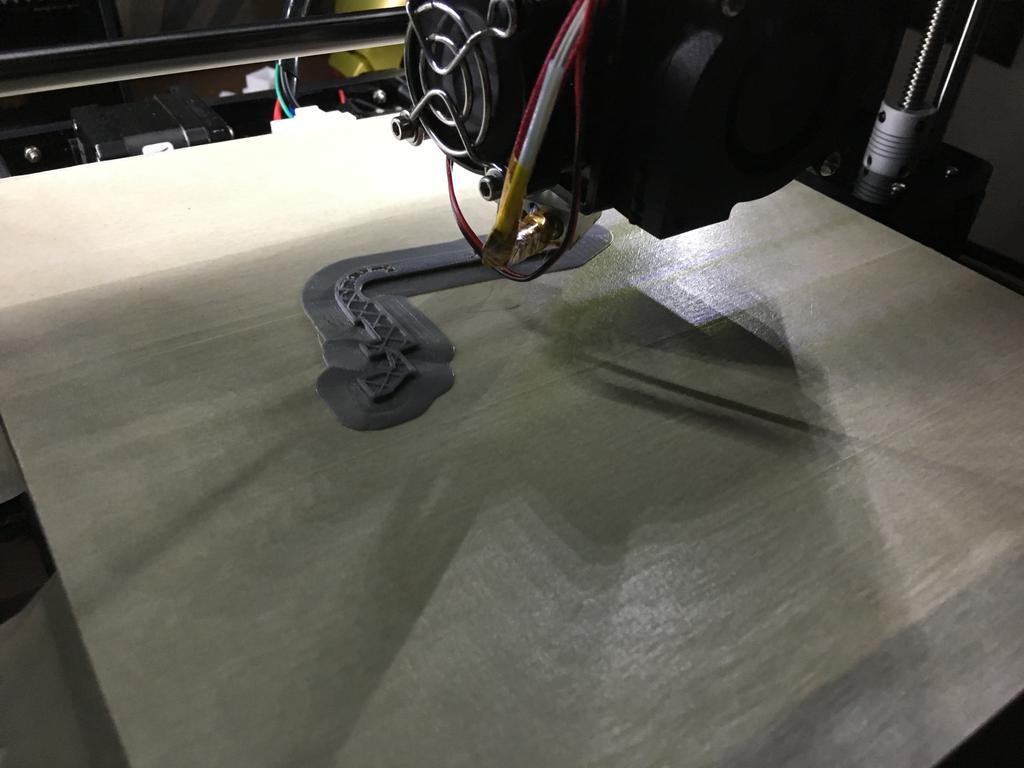
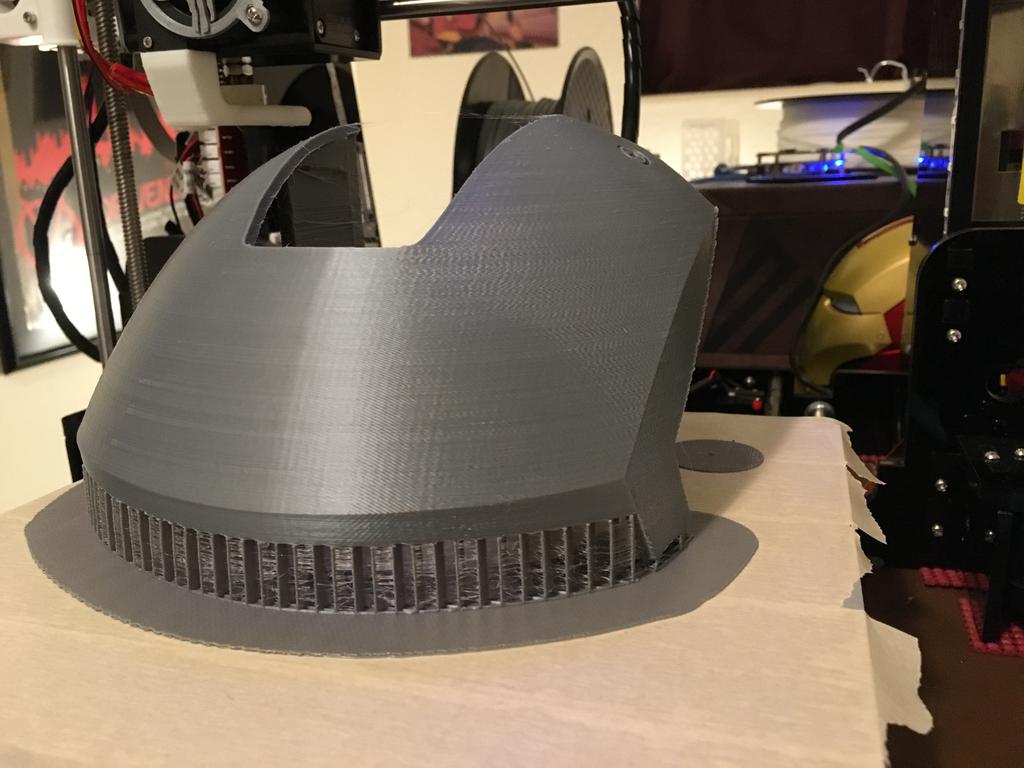
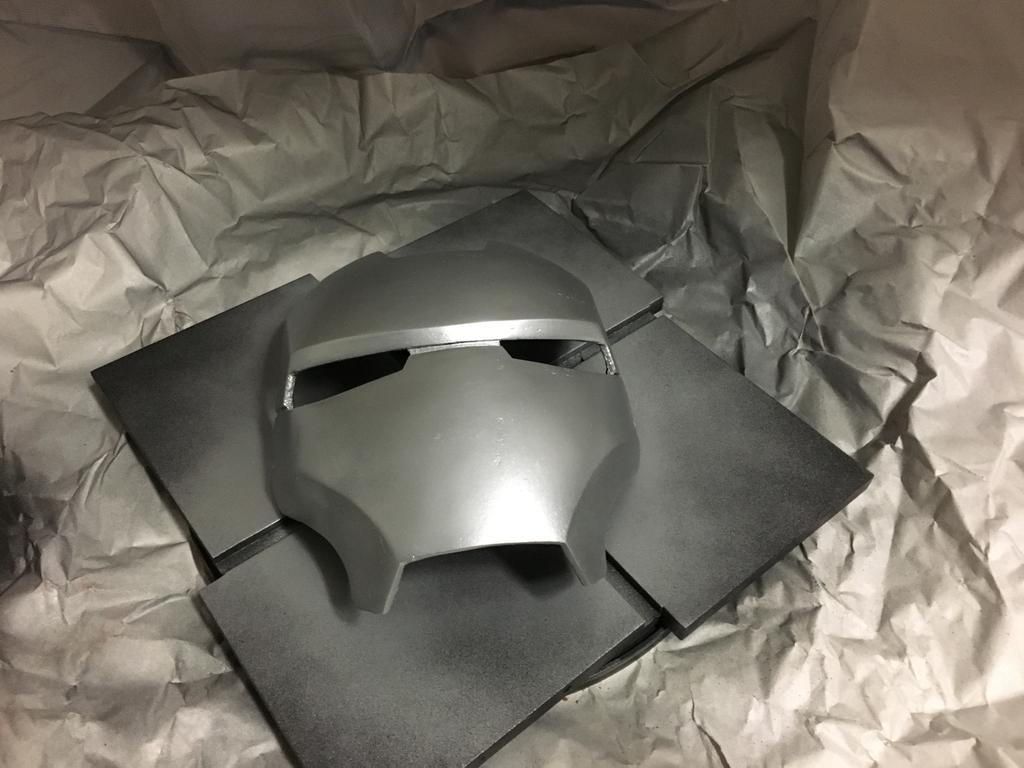
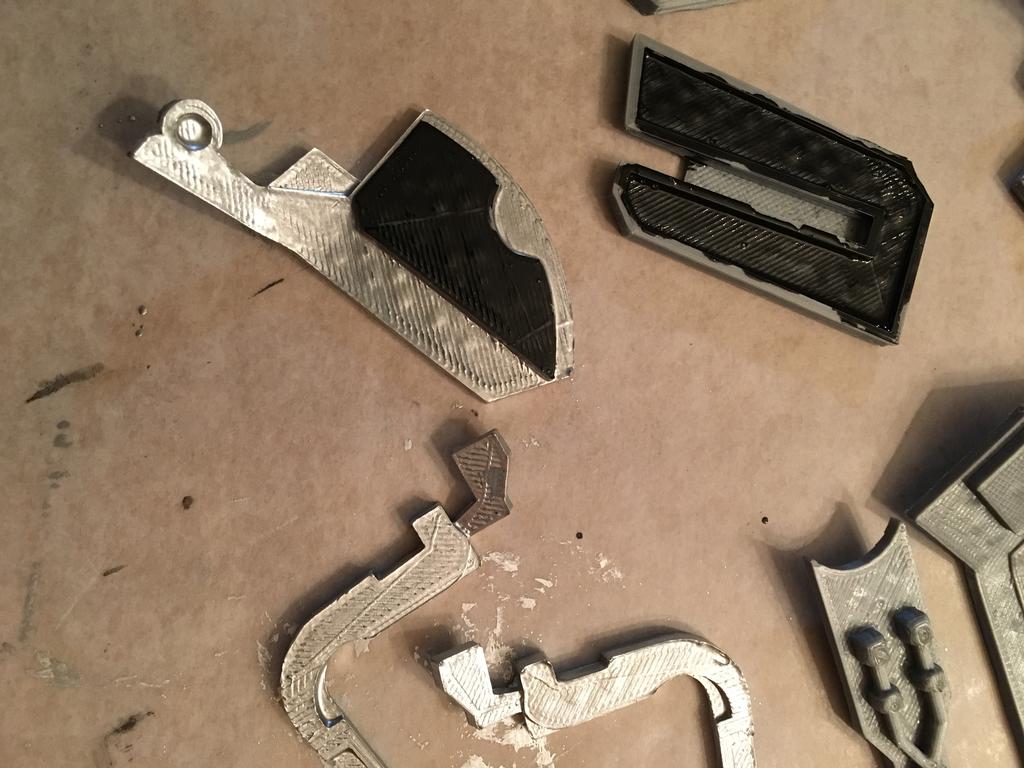
Print one sheet of face parts.
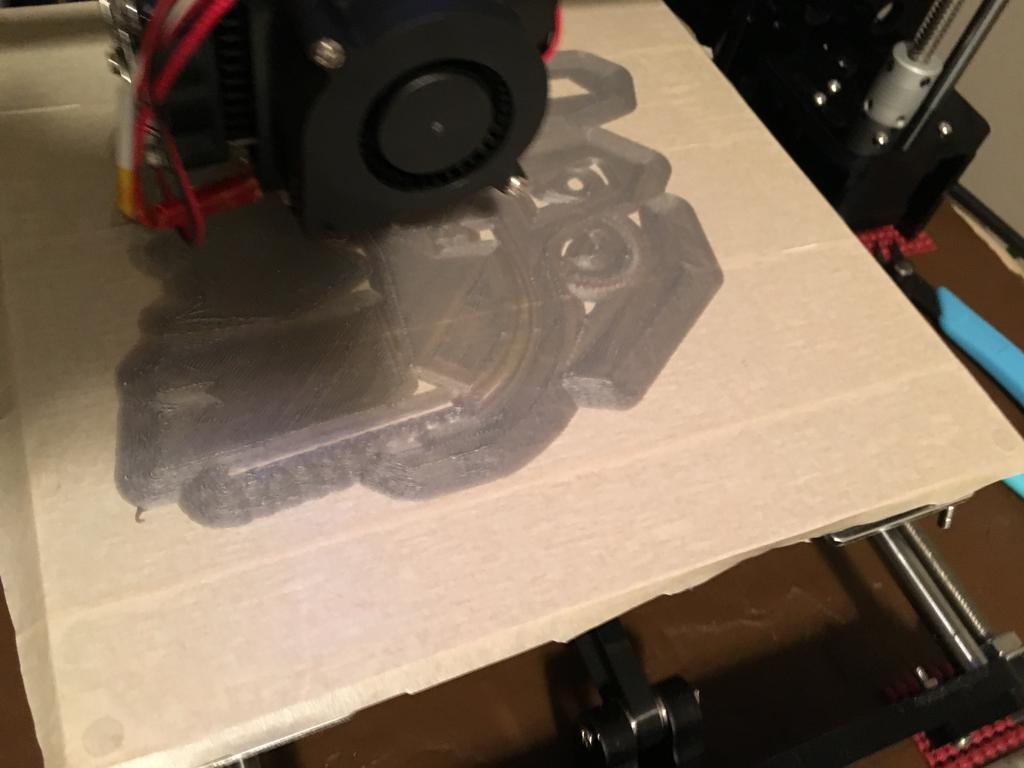
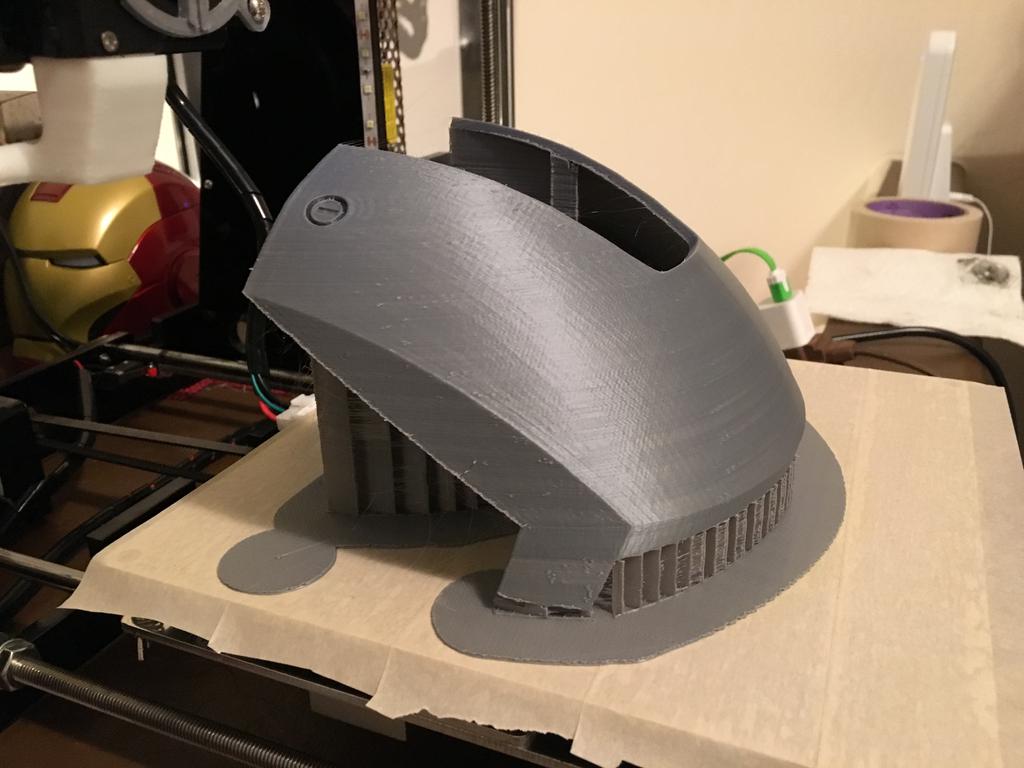
Print the opposite sheet of face parts.
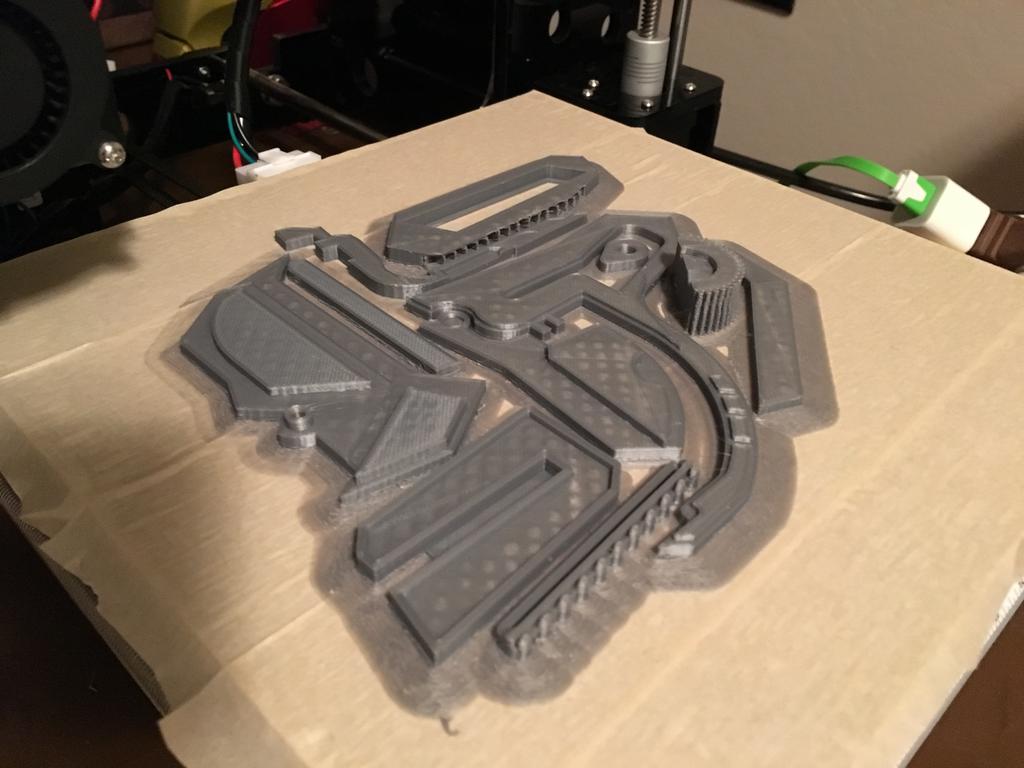
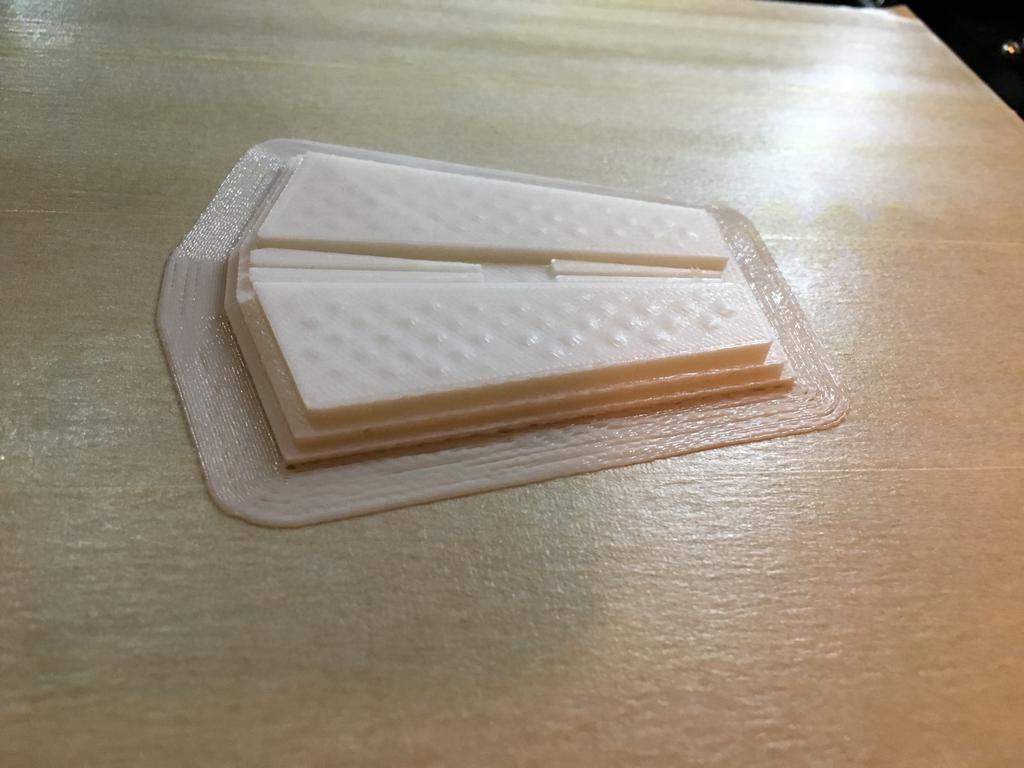
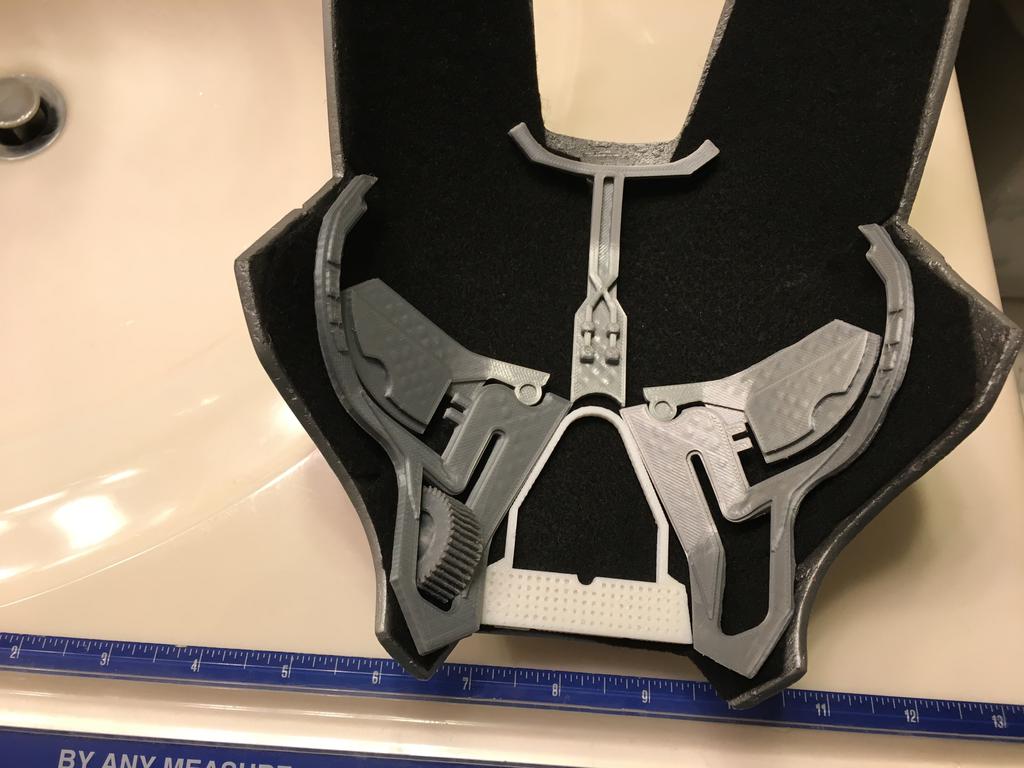
A completed sheet of face parts hot off the printer.
I had some warped parts that needed to be reprinted, no big deal.
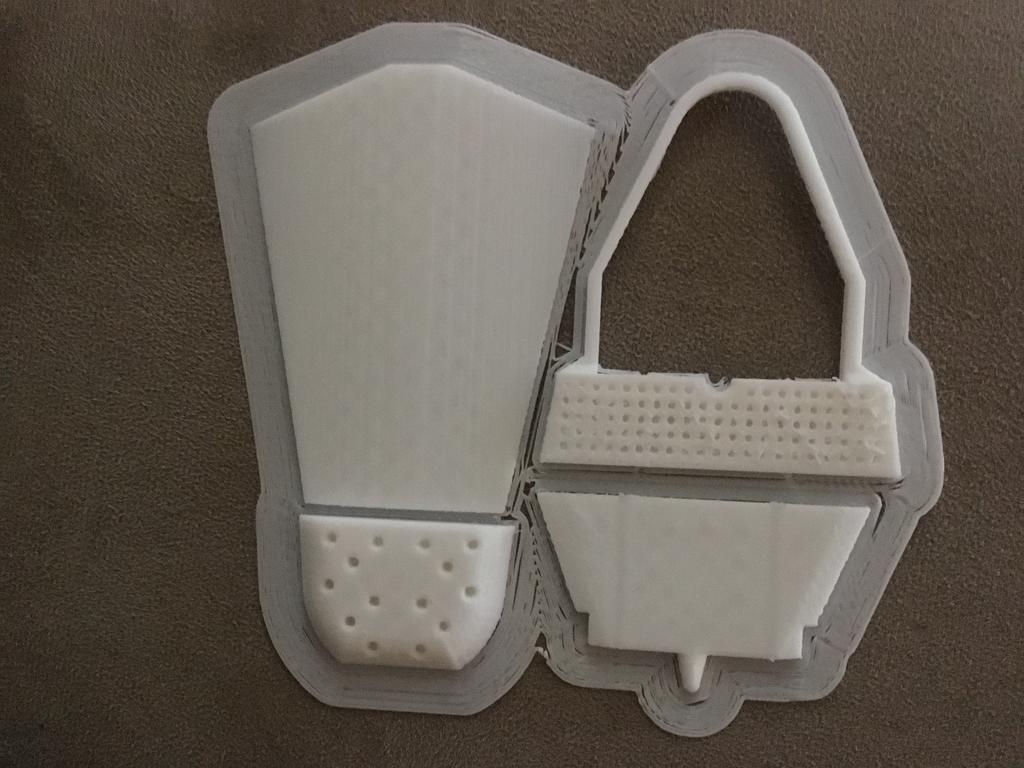
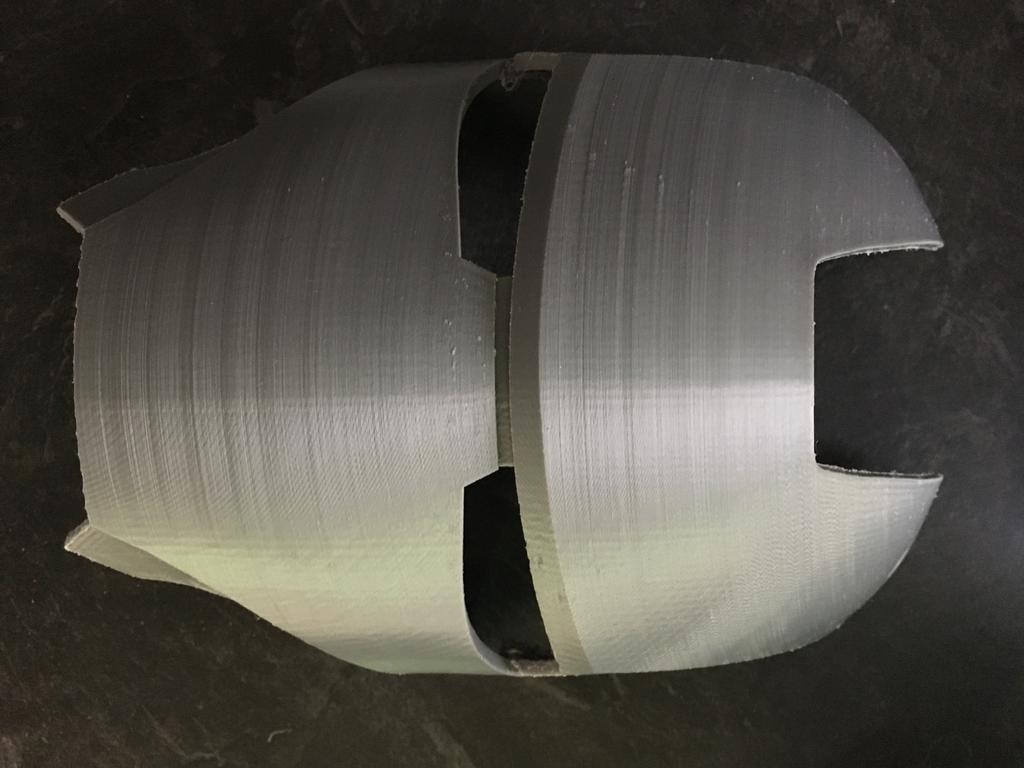
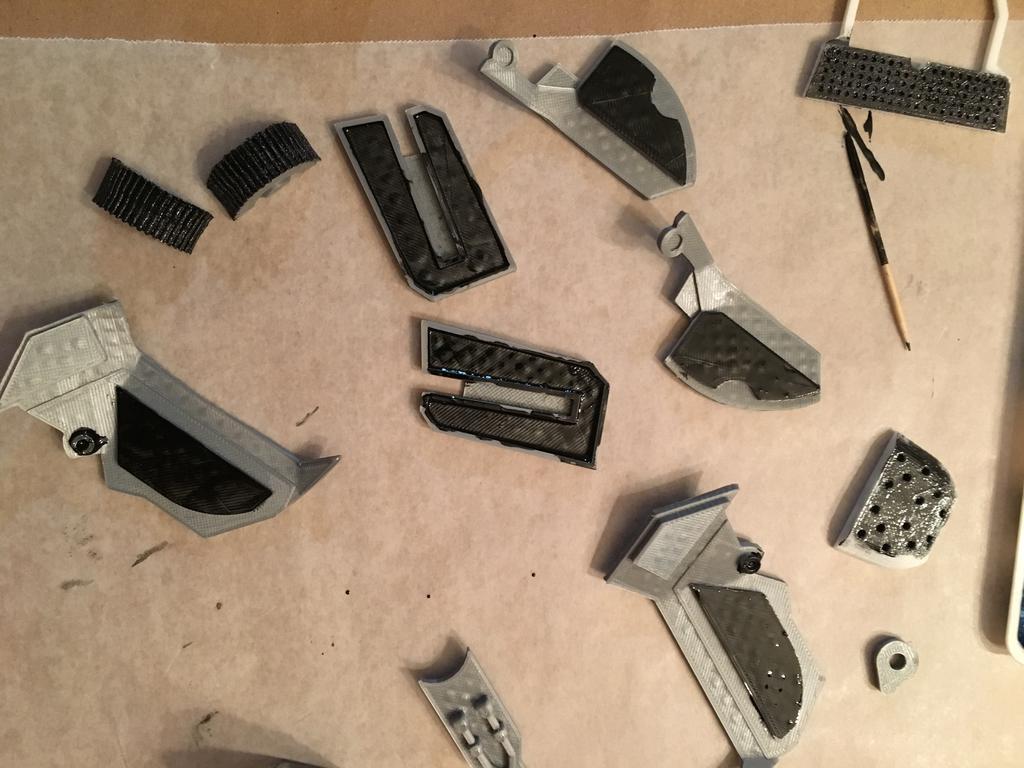
Print the parts of the mask that only require one of each.
Print the parts of the mask that only require one of each.
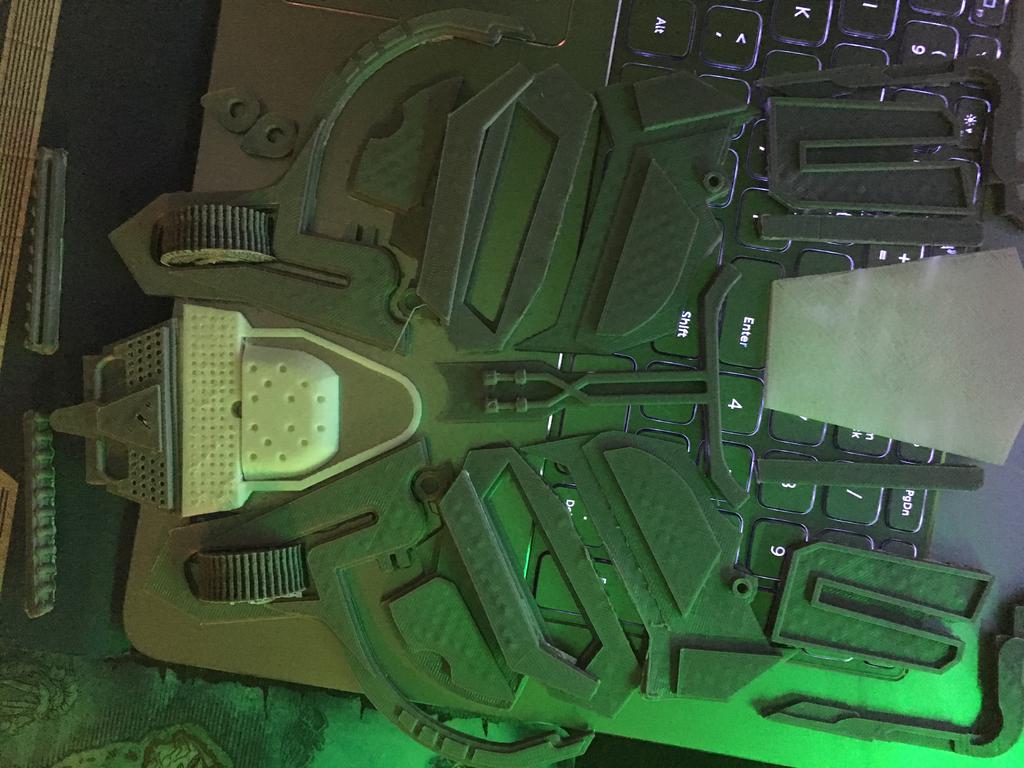
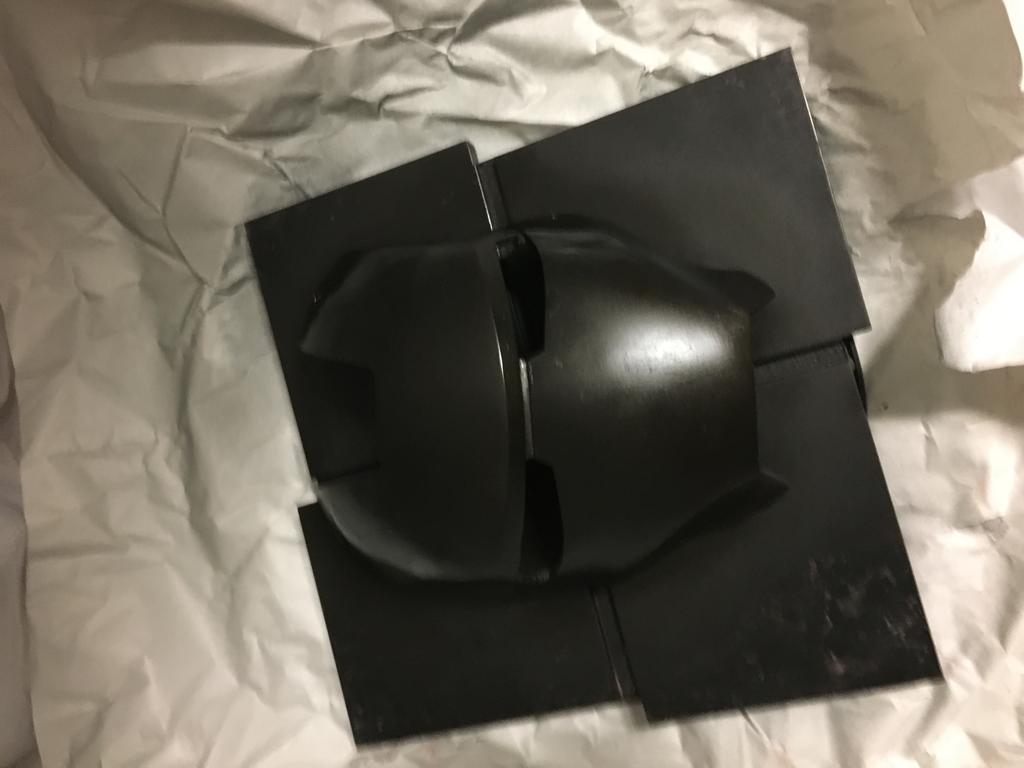
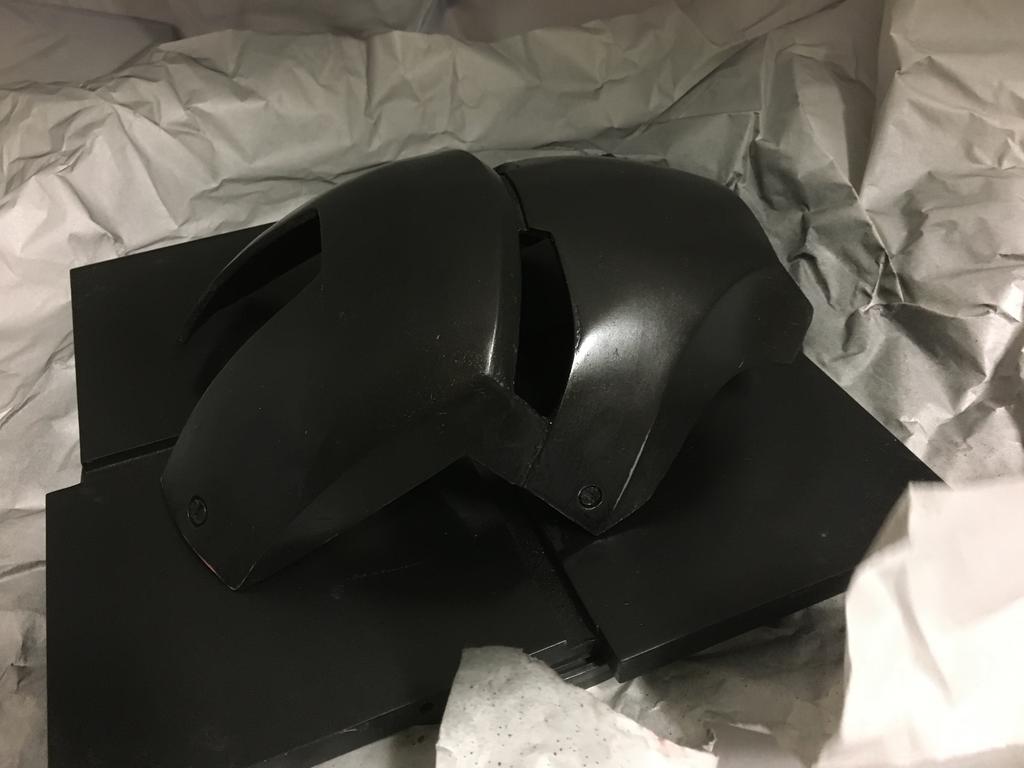
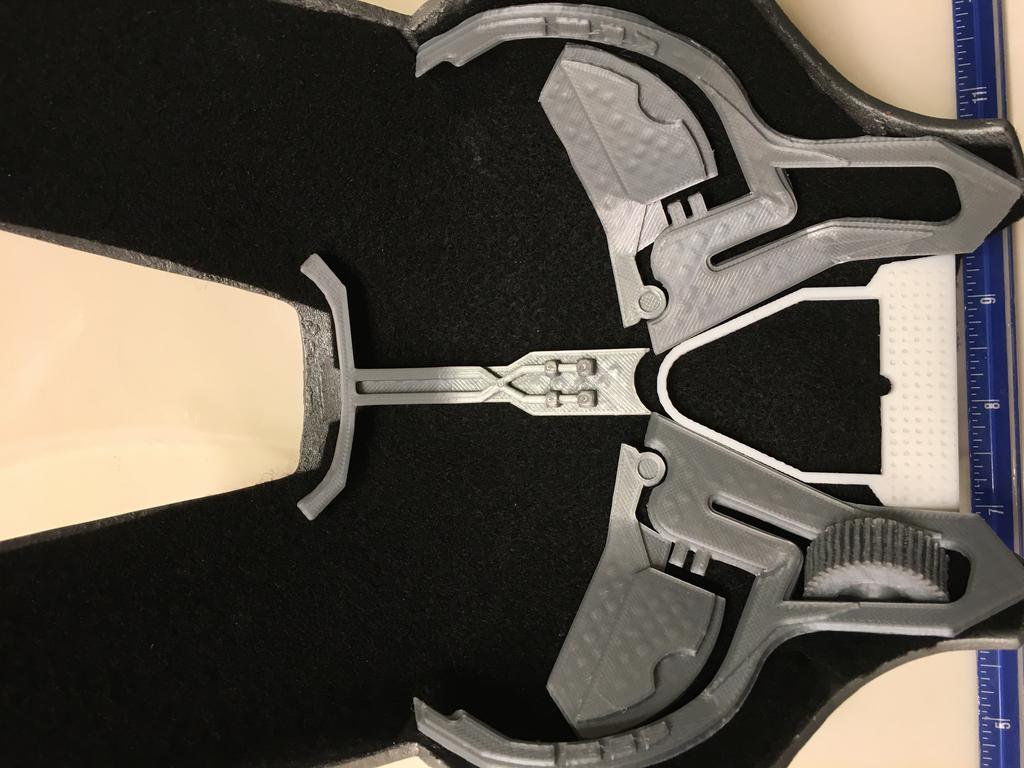
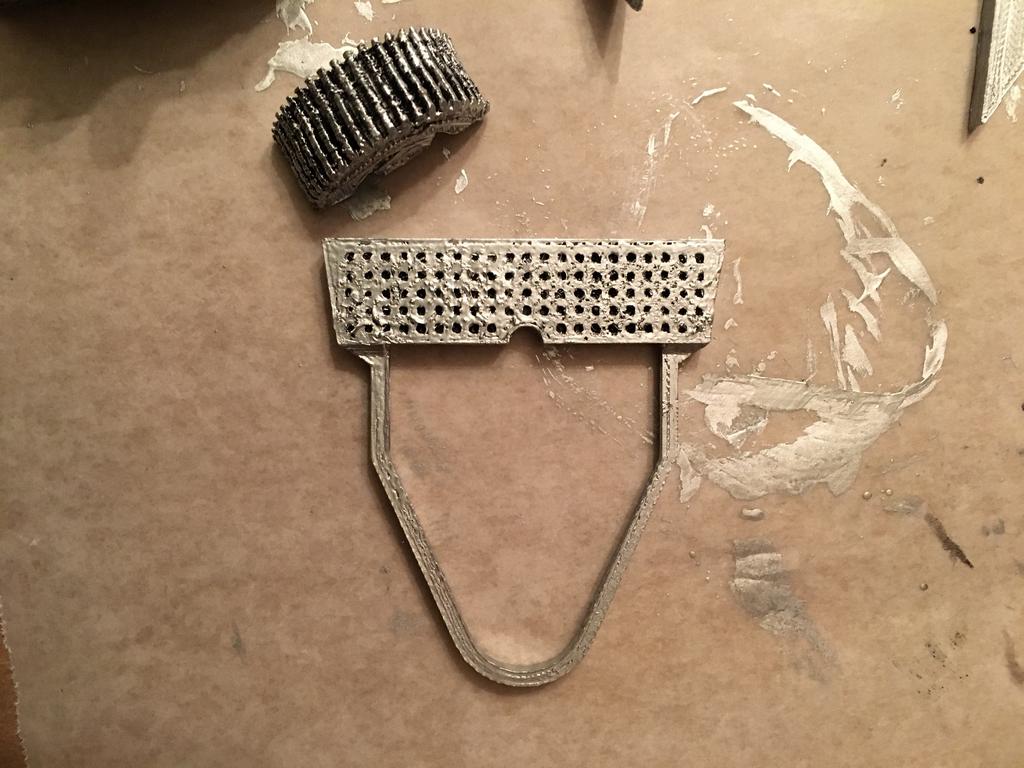
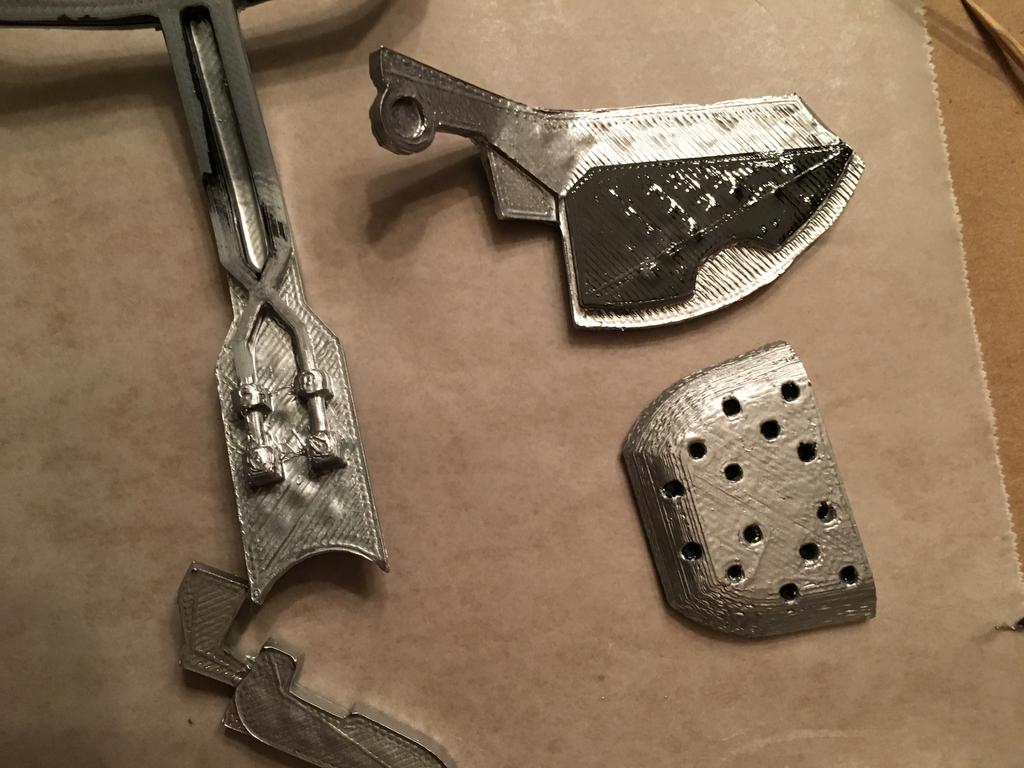
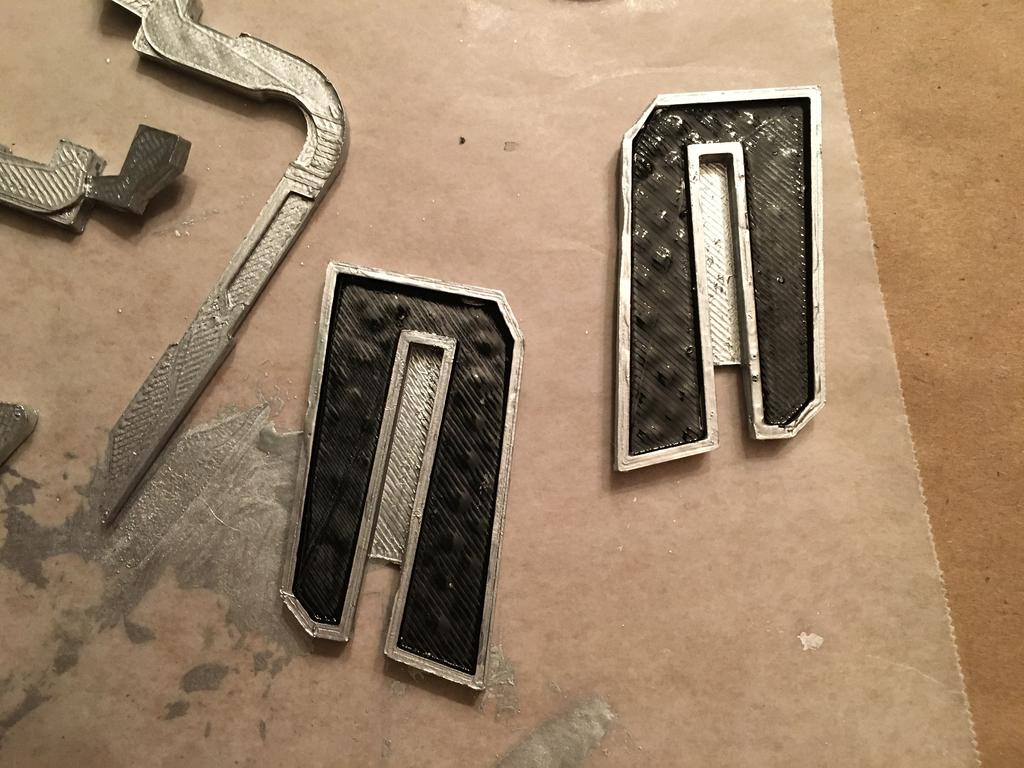
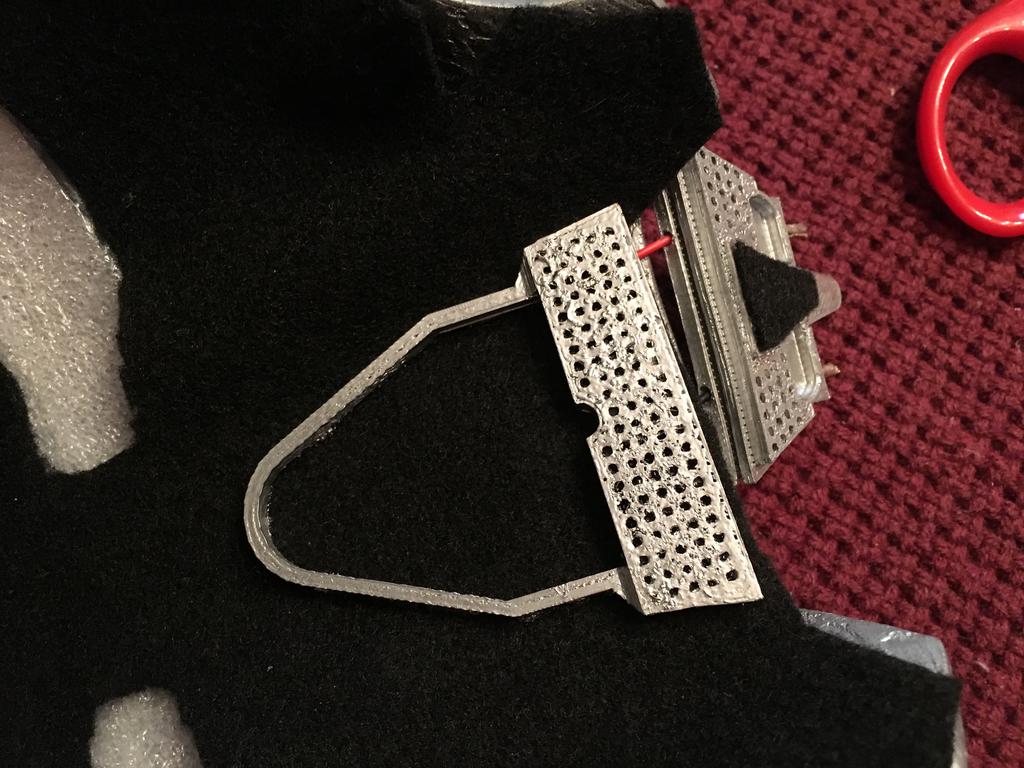
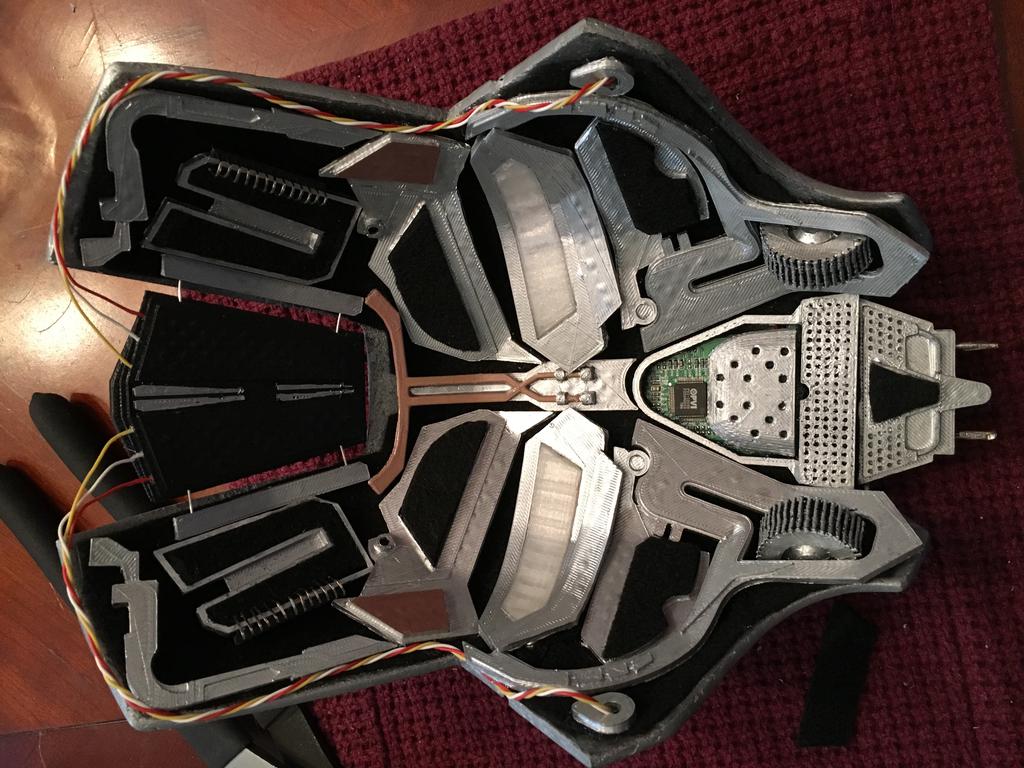
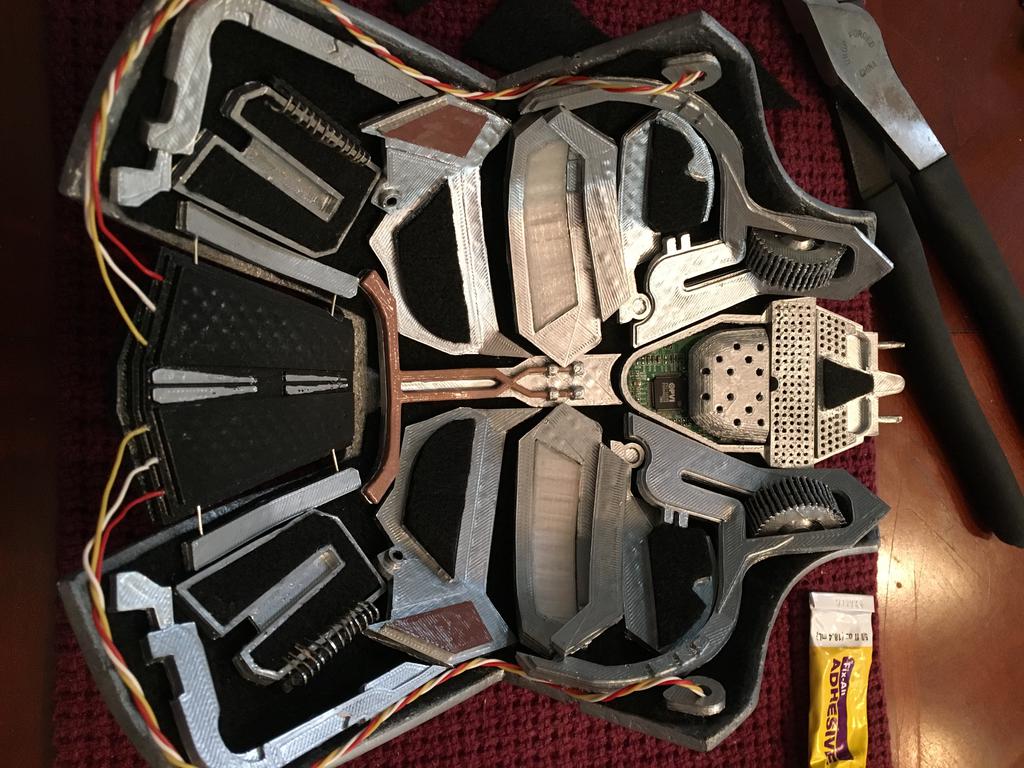
Looks like we have all of the internal detail parts.
As noted by the artist, this piece was created by another great artist on Thingiverse.com.
As noted by the artist, this piece was created by another great artist on Thingiverse.com.

You can't 3D print new lungs (yet), for now protect them. Masks are cheap. Grab some gloves too. Silly face optional.
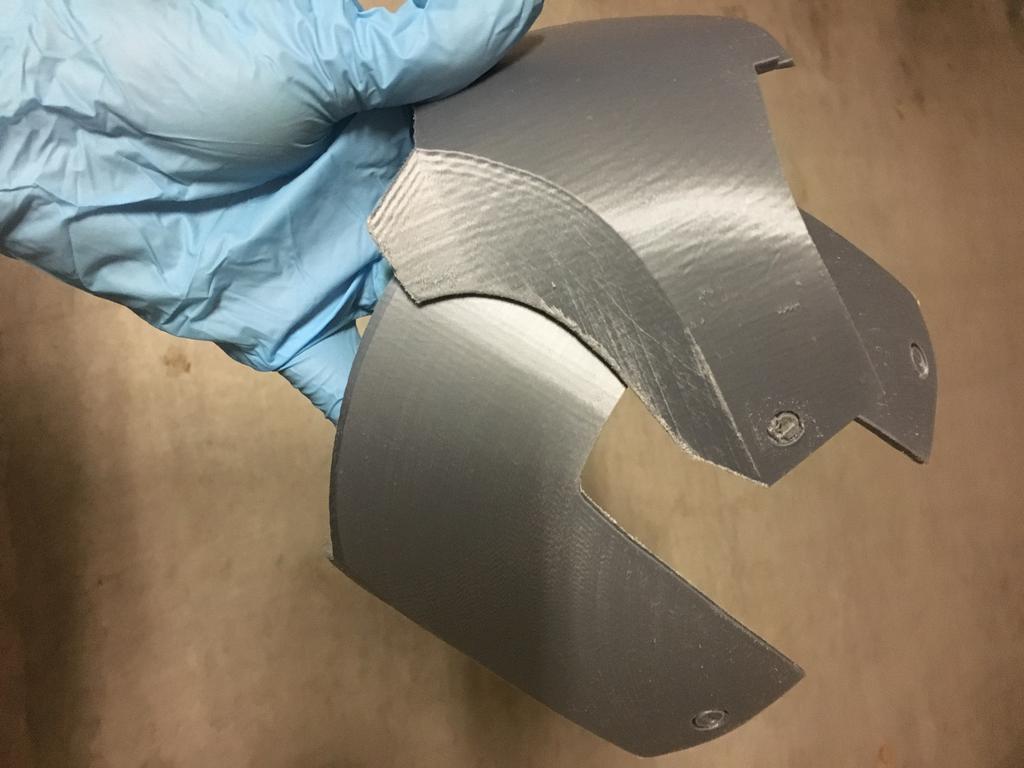
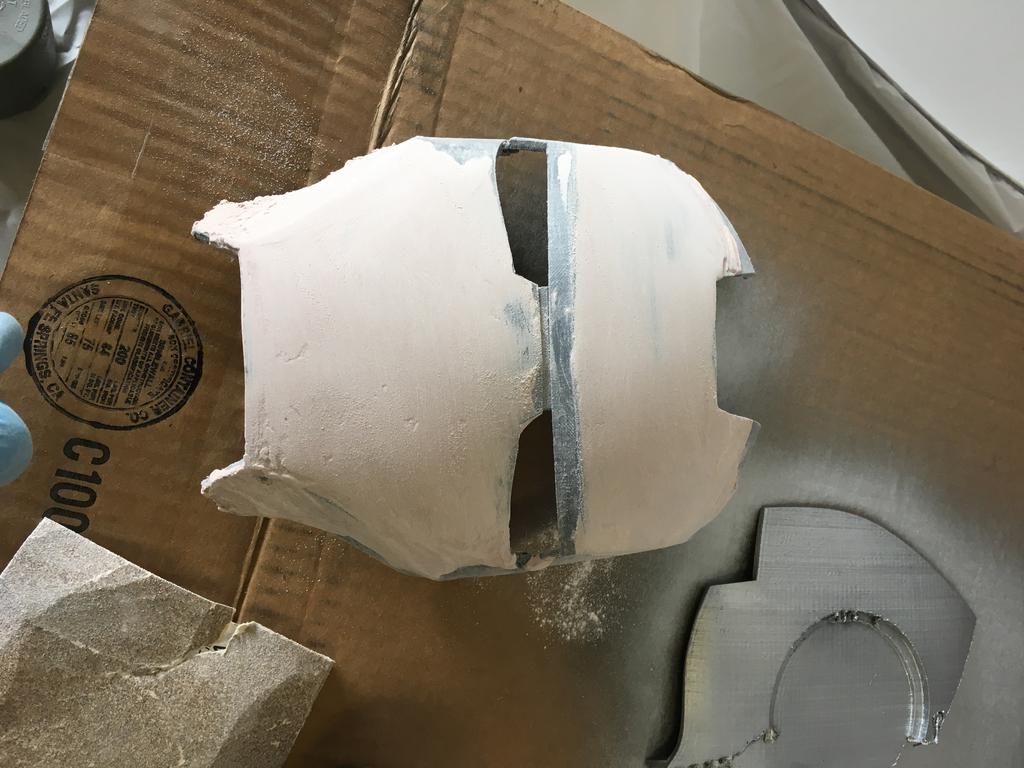
I started out with a 60 grit sandpaper on the printed outer parts to take off any burs or excess plastic.
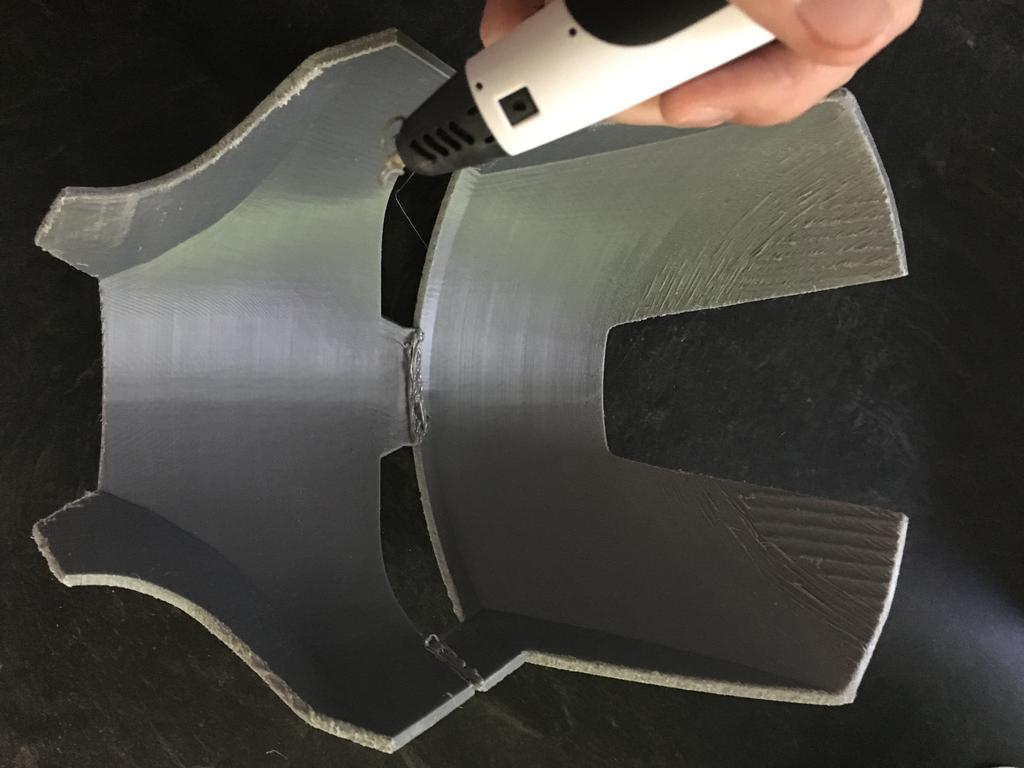
We have an awesome handheld 3D printer that uses the same filament as the large printer. You can use a glue gun or super glue as well.
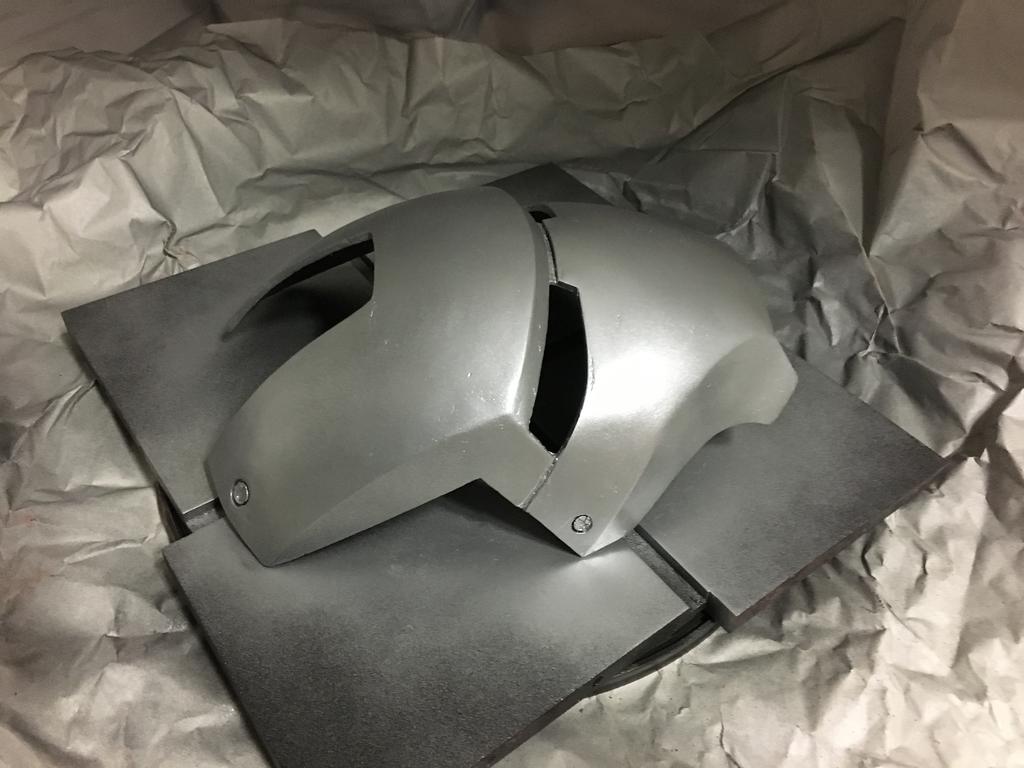
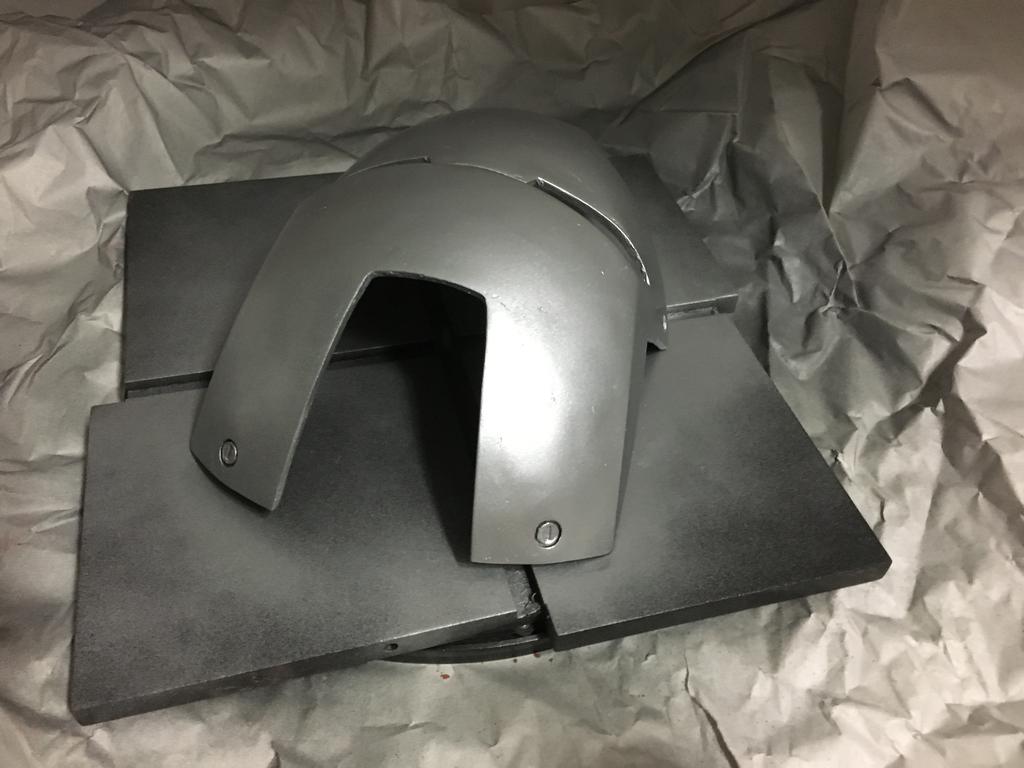
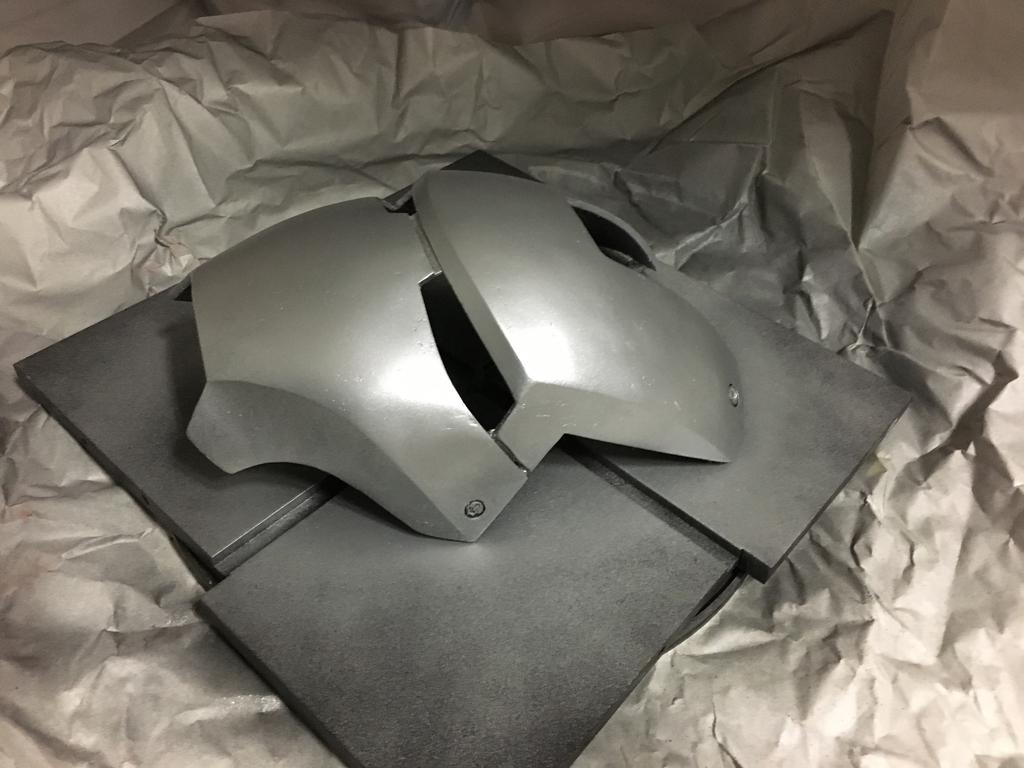
A shot of the faceplate after joining the upper and lower halves.
Later I learned that glazing putty would have been all I needed.
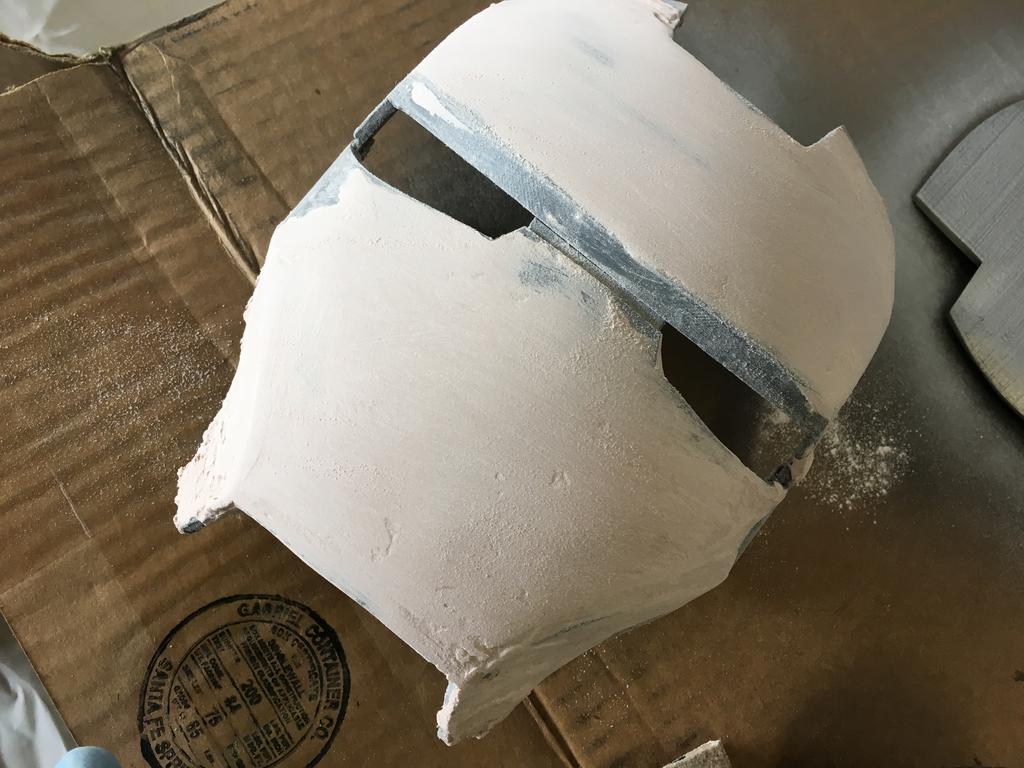
Because the Bondo was over kill, I used 60 grit sandpaper to clear away the excess Bondo and then 400 grit to shape and smooth it out.
Apply a thin coat of glazing putty. I used a basic Bondo brand one part glazing putty ($3-ish). Let it dry for 30 min or more.
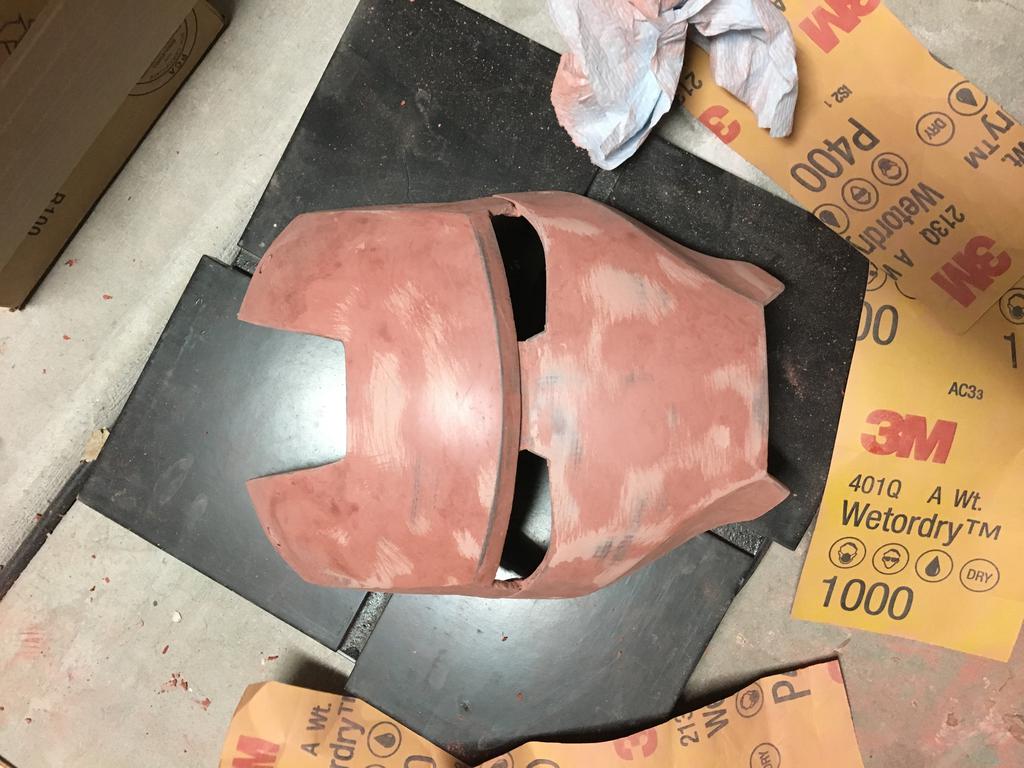
Use a 400 grit sandpaper to smooth and shape the glazing putty.
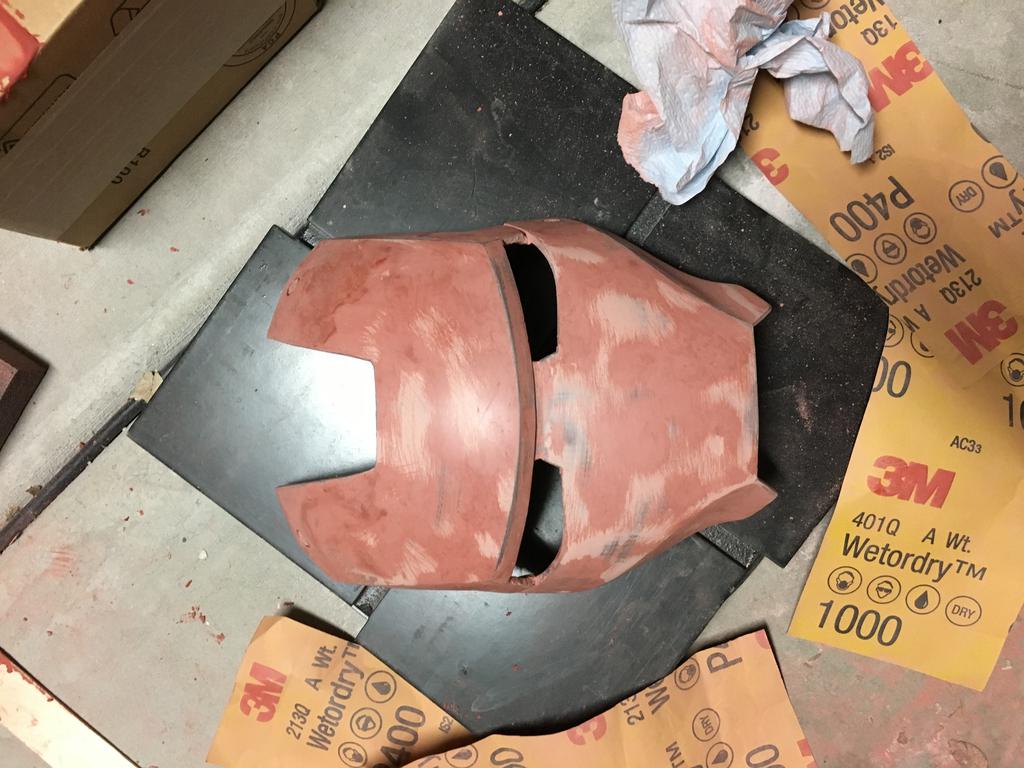
The 400 grit will get you close, but the 1000 grit will finish fine details and even polish the glaze.
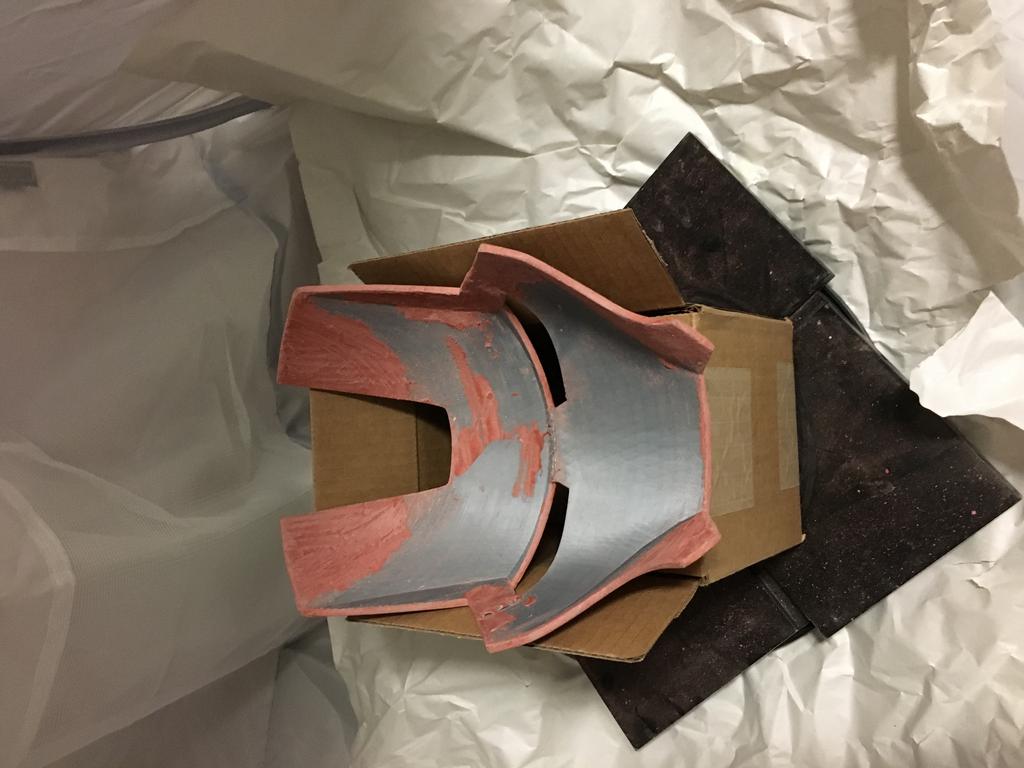
I used a small shipping box to cradle the mask for painting the under side.
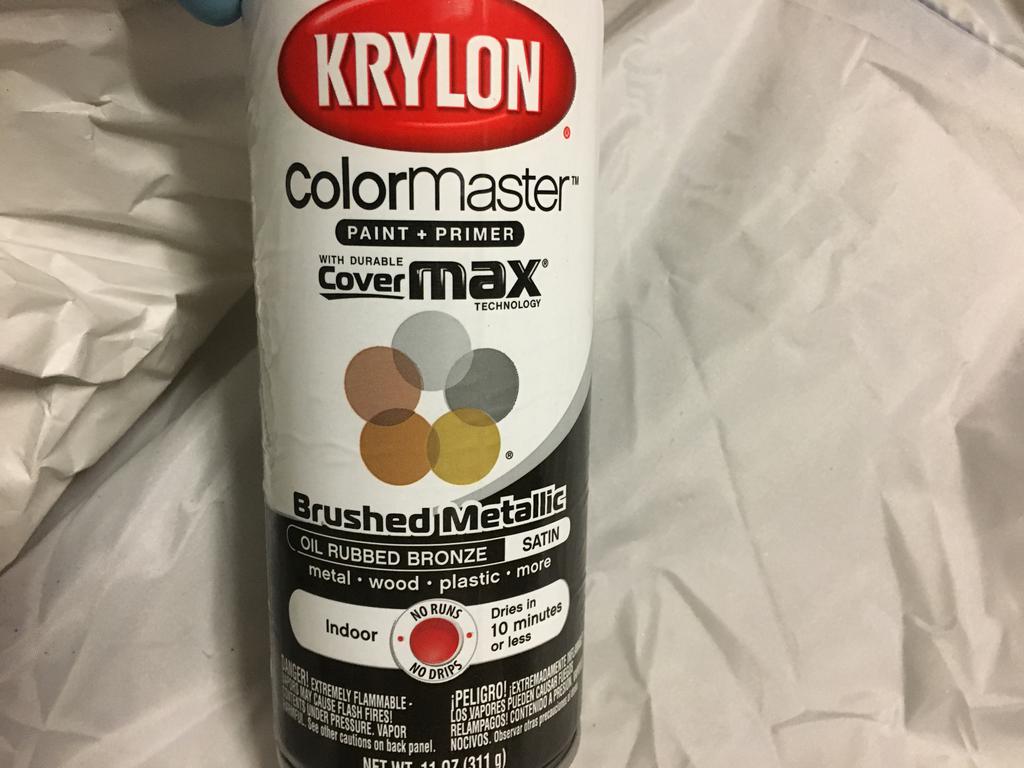
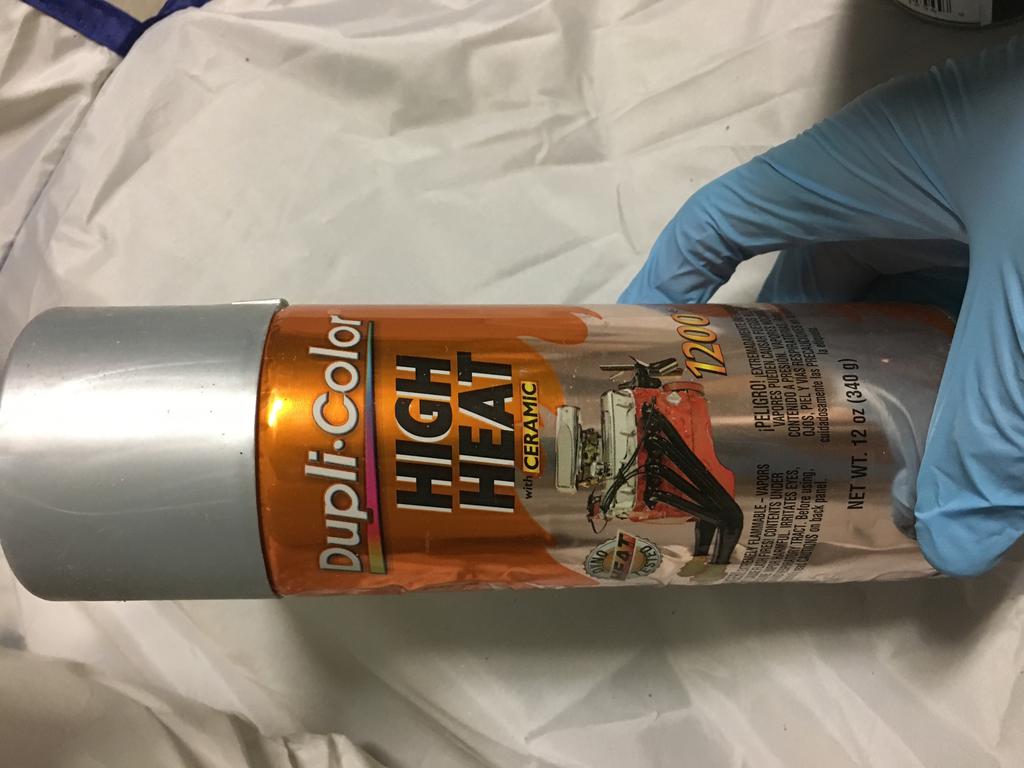
I decided on a metalic black for the base coats to give shadow to cracks, create depth and look dirty and industrious on the under side.
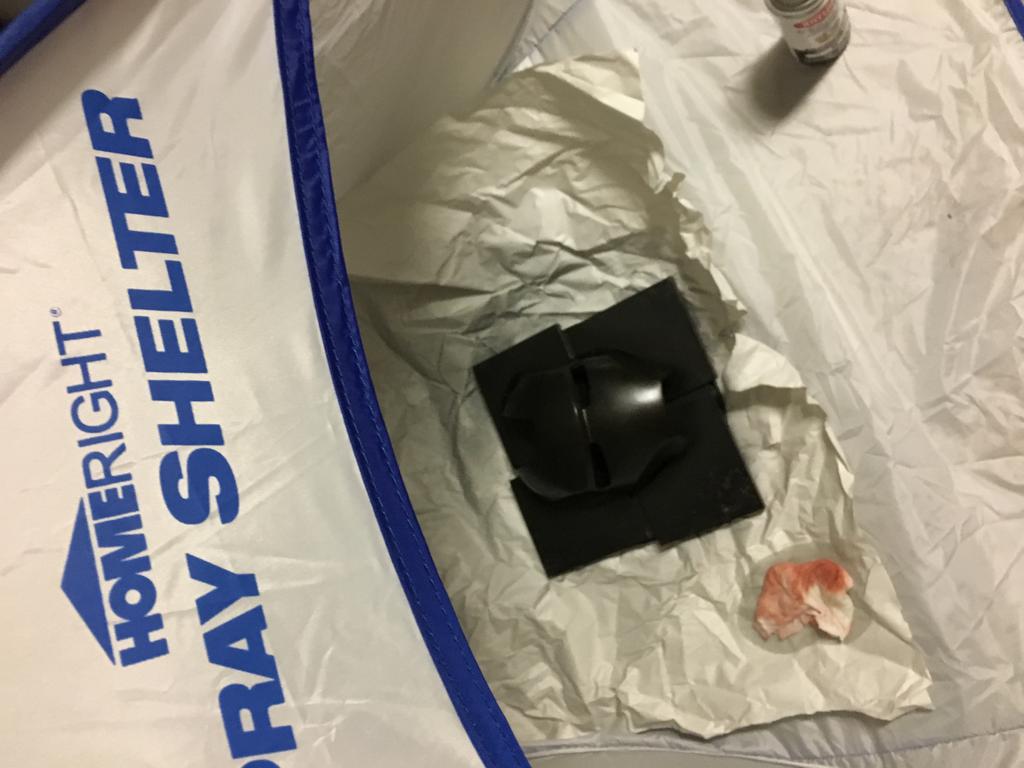
Make your coats light. Gentle passes of the part once or twice, but do not dwell or the paint will run. Invest in a spray tent, they are about $37.
After.
With 1000 grit sandpaper (wet sand rated) smooth out any runs or inperfections before the next coats.

I took the opportunity to paint the small suspended parts black.
Tip: Remember, make sweeping passes over the piece.
Tip: Start spraying the paint off the piece and then move over and off of it.
Tip: If you have any runs, you'll need to wet sand them after they dry.
Tip: I built a rotating paint pedestal, find something you can use to rotate the piece without touching it.
Tip: I know it looks cool, but let it sit and dry patiently or you'll be doing it again.

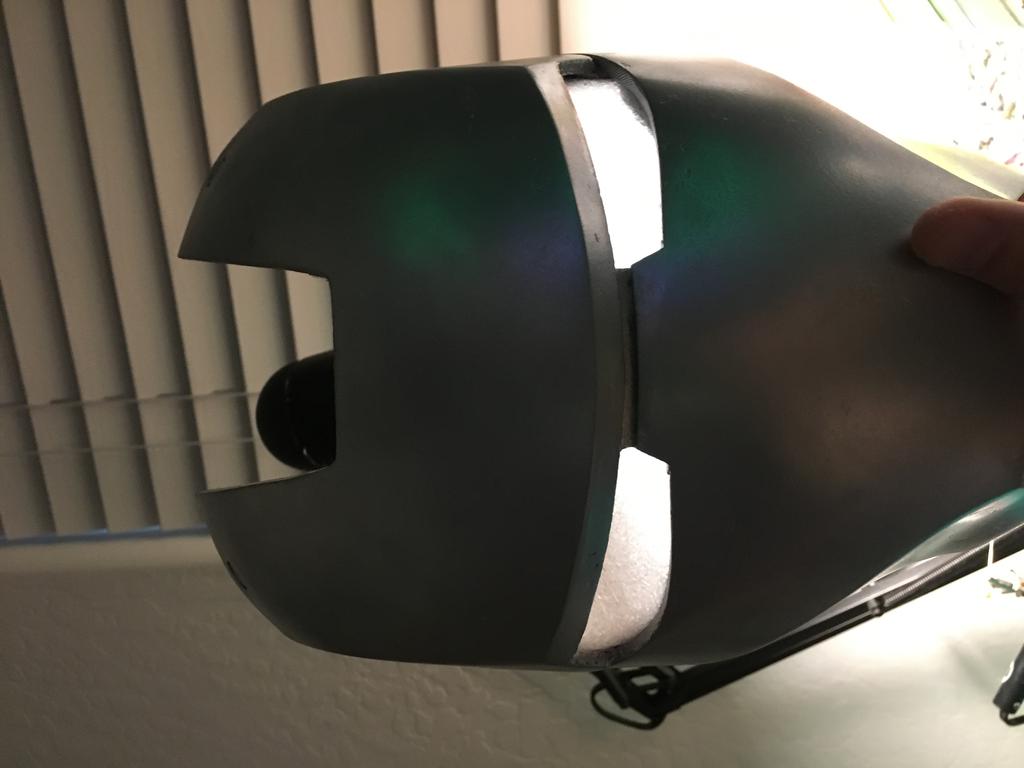
After the paint dries, thoroughly, use a lint free cloth to buff the mask to a shine.
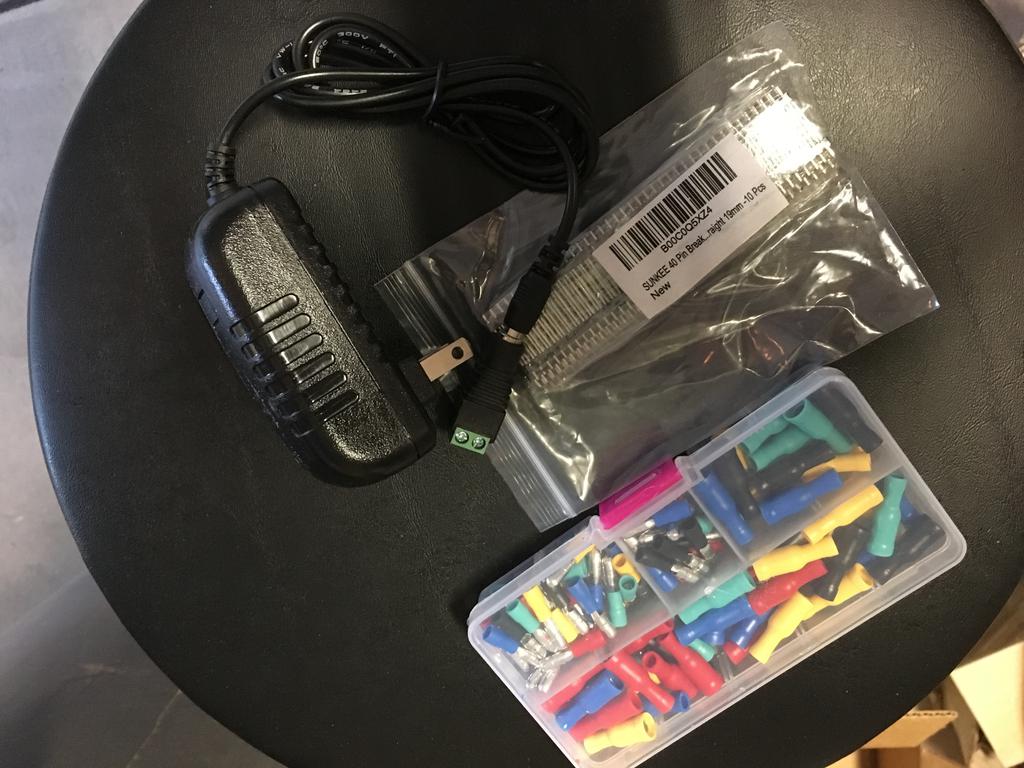
I chose a 12v 1a power supply with recepticle. I prefer 12v and the single amp should be a nice low current for the lights.
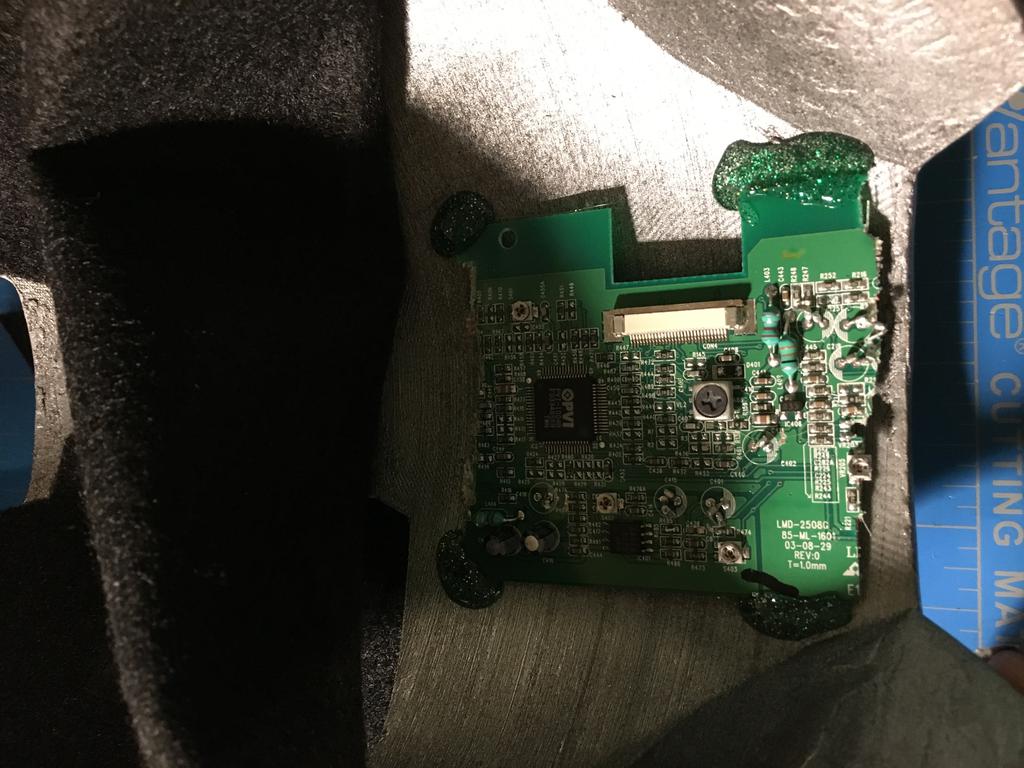
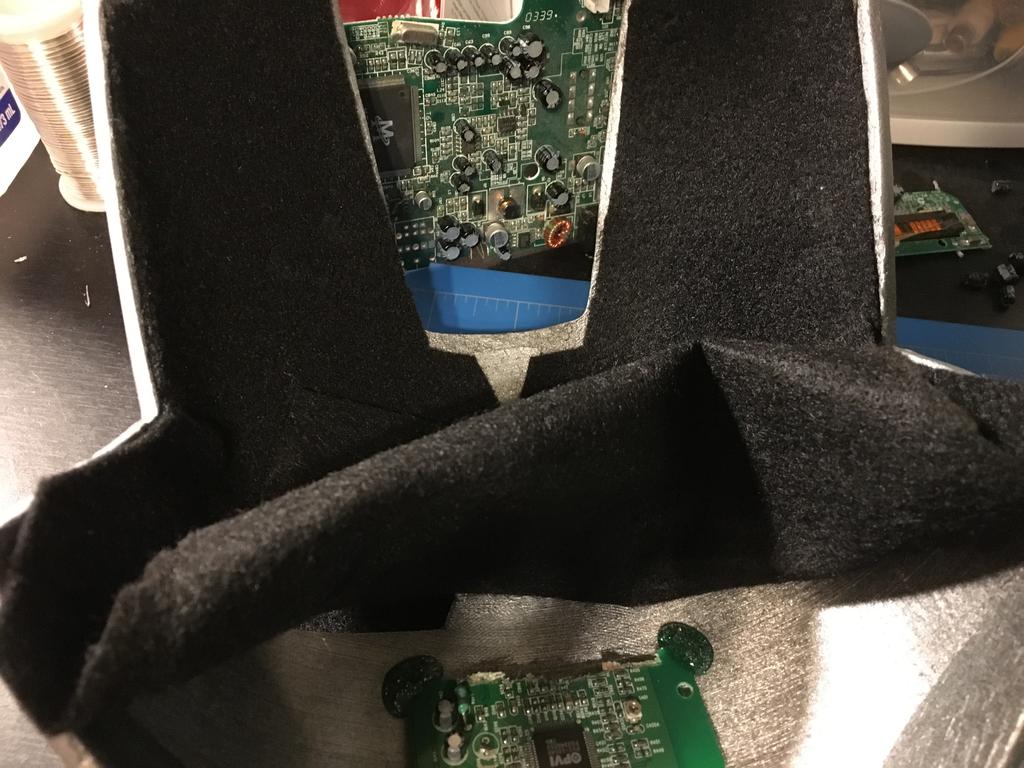
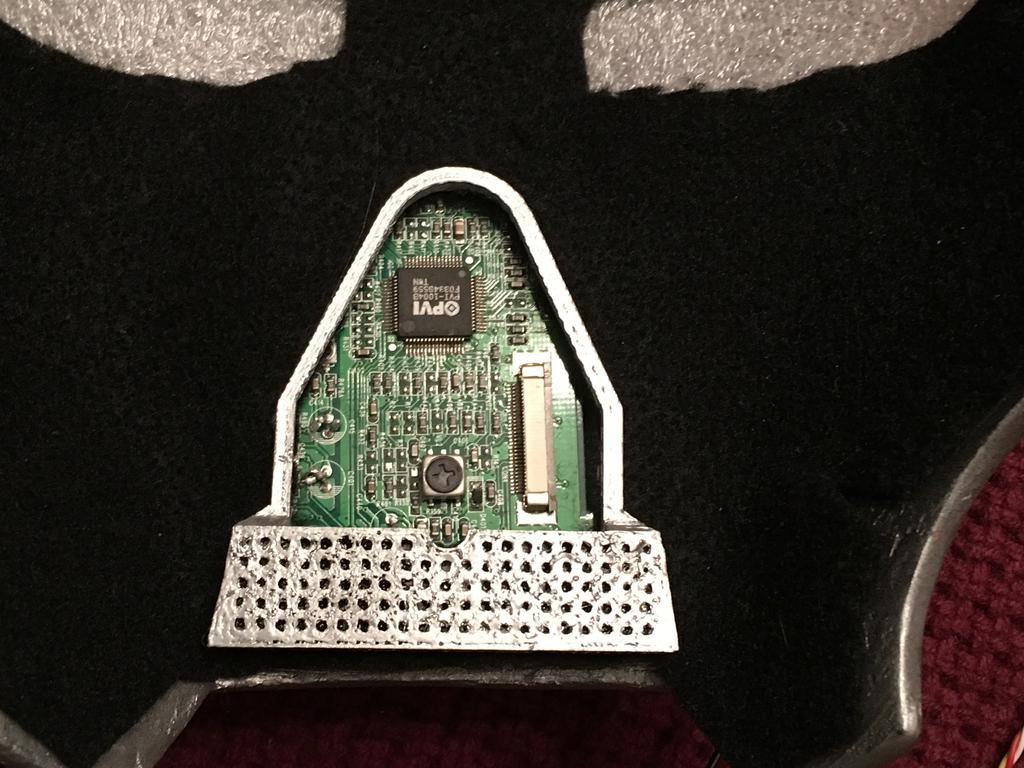
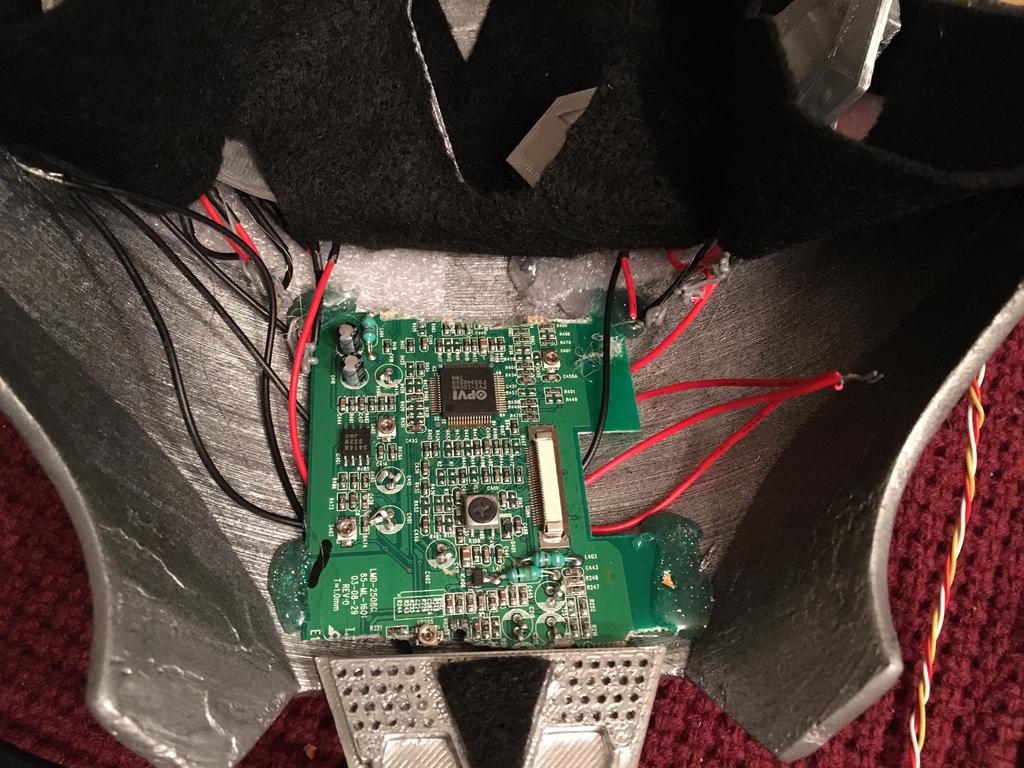
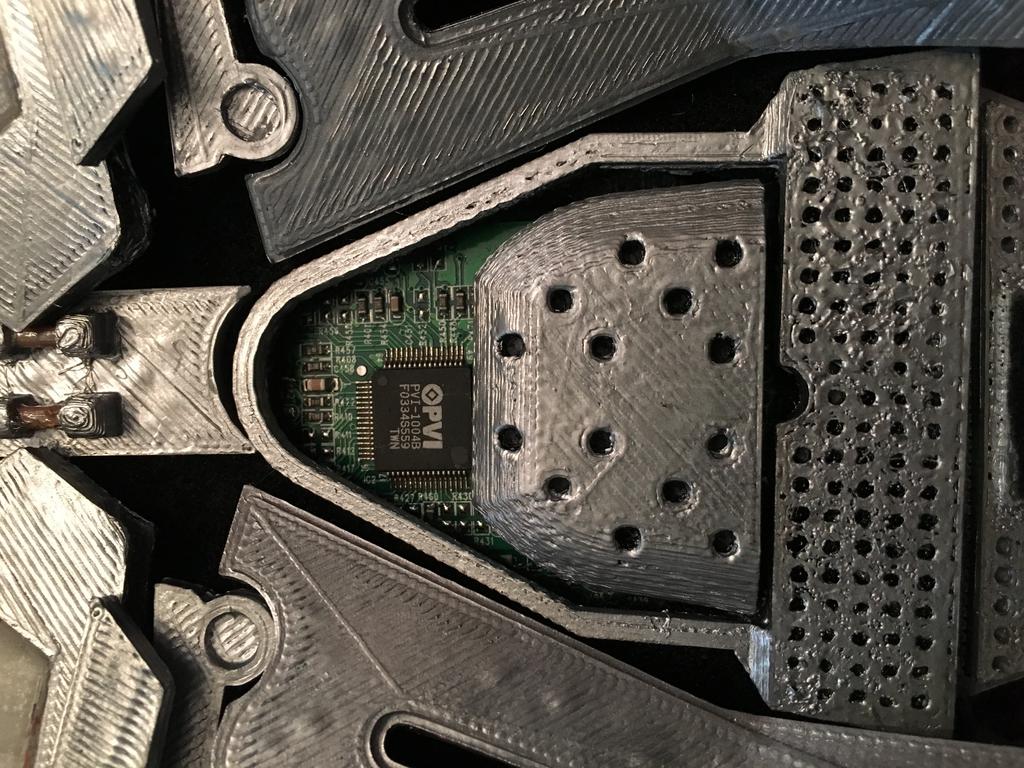
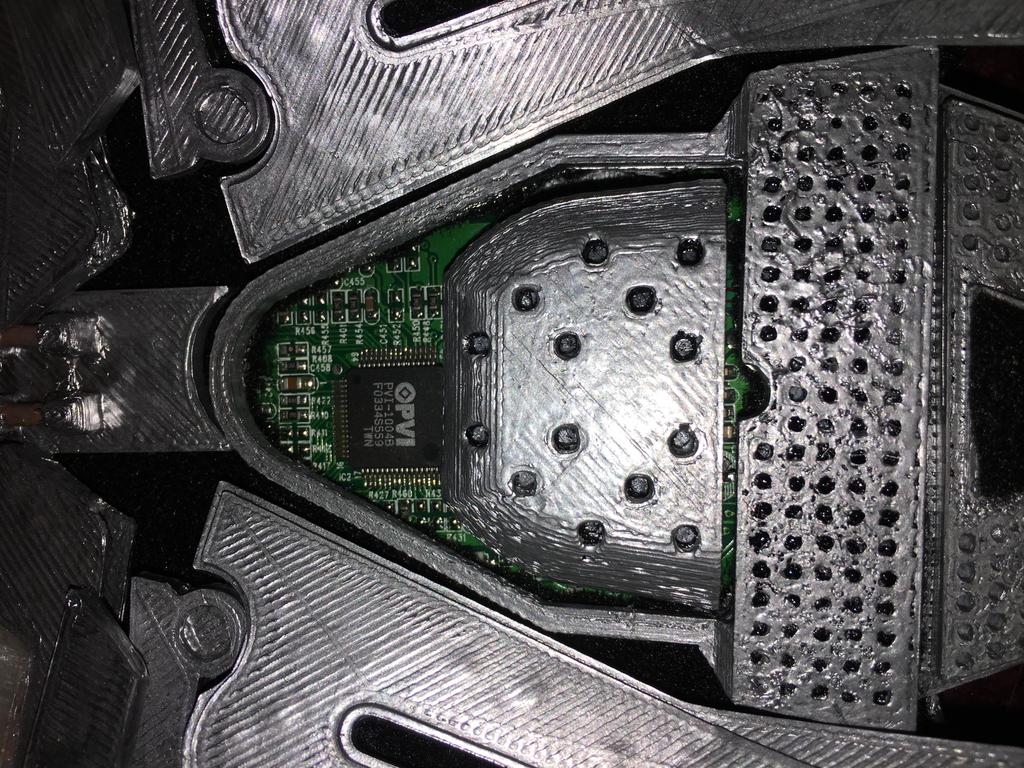
I reused the circuit board from the now dead smart frame prototype project. A dab of hot glue to hold it in. Green glitter glue resembles the circuits.
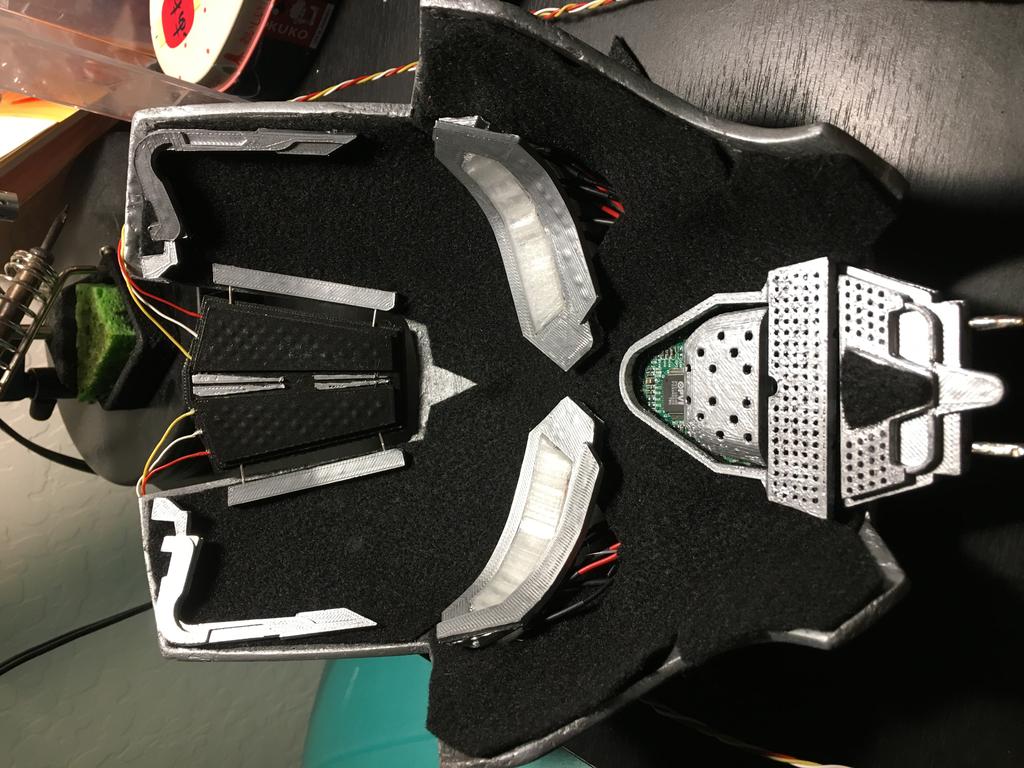
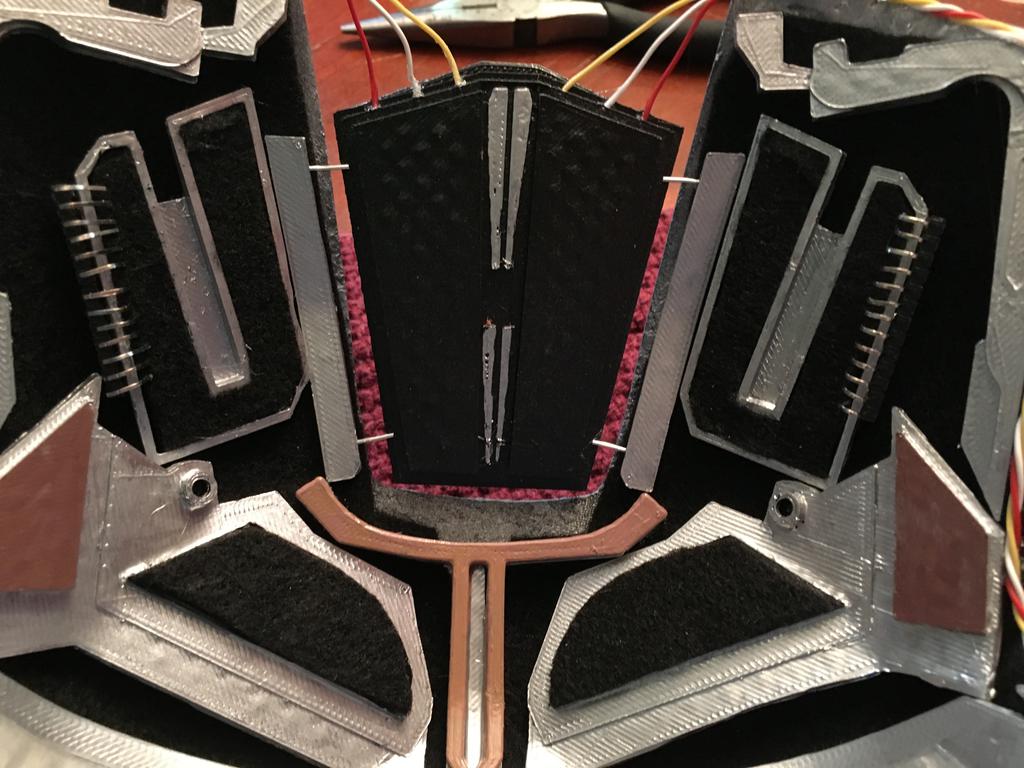
Cut some black felt to the shape of the mask. Be sure to leave some knotches in the curved areas. Start from the top and work your way down the mask.
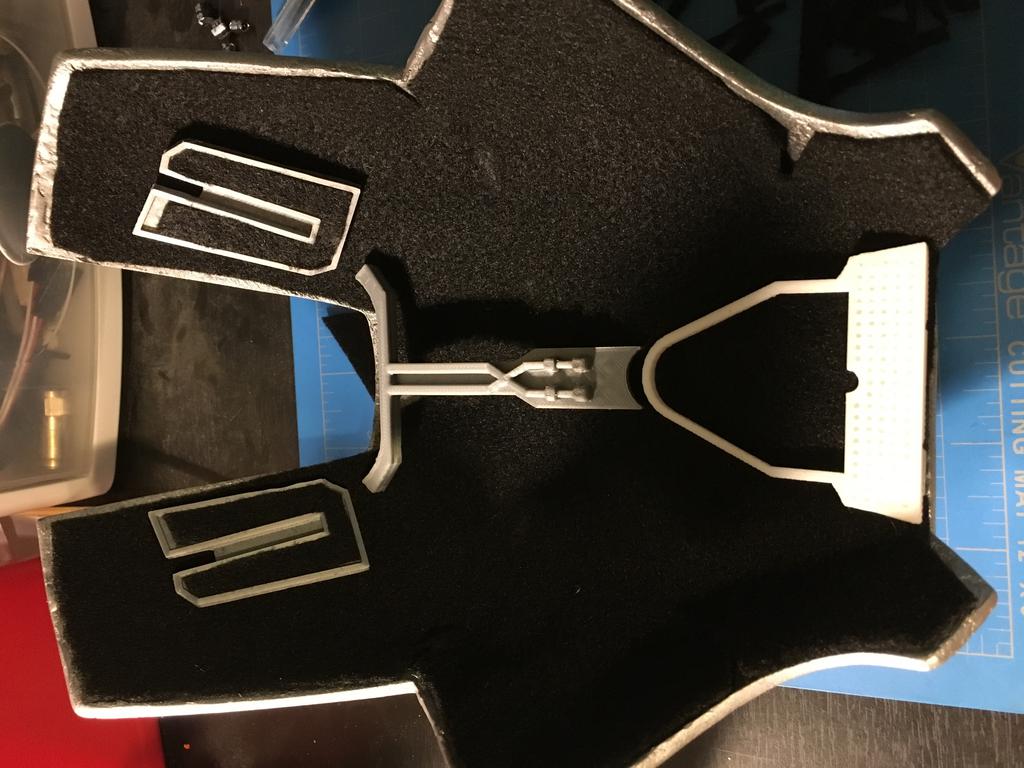
Get an idea of where pieces will fit. Glue the frame of the see through window to the felt and let it dry.
If you don't own one (like us), very very hot water will soften the plastic enough to bend it. Be sure to hold the piece down with a straight edge like a ruler so the bend is clean and uniorm.
It will take patience and time.
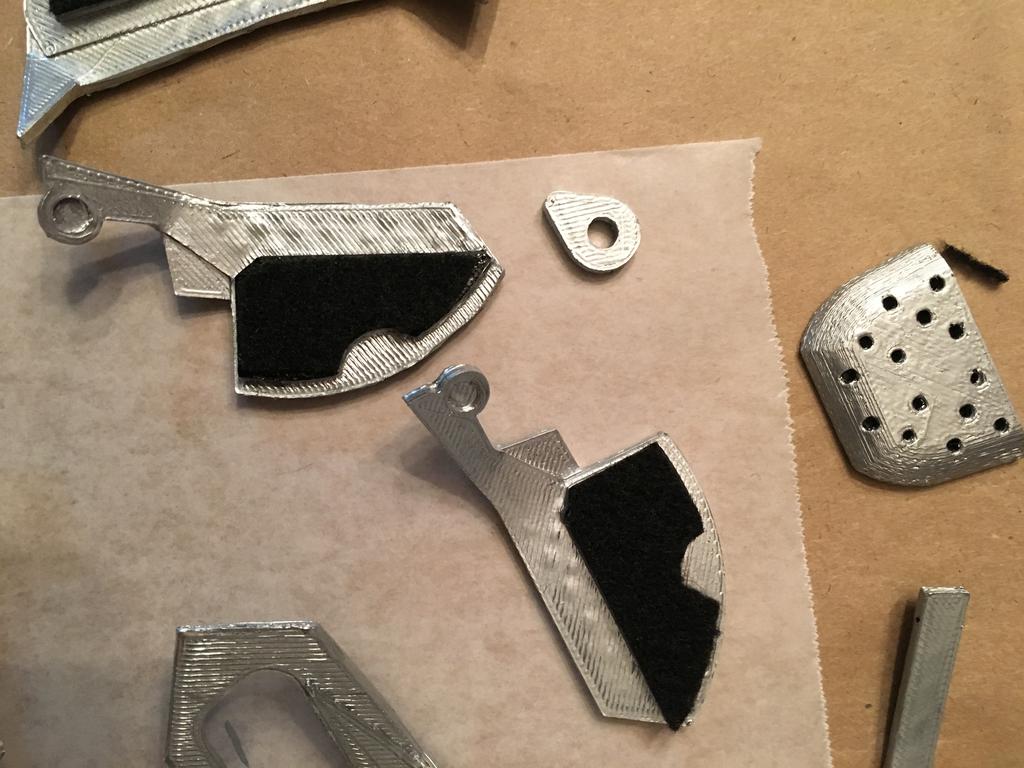
Though the designer calls for 100%, I used 20% infill instead. I'm choosing not to make allow viewers to see through them.
I used a pack of pre assembled lights. They are 12v and already have resistors wired in. I found them on Amazon.

Don't glue anything before testing first.
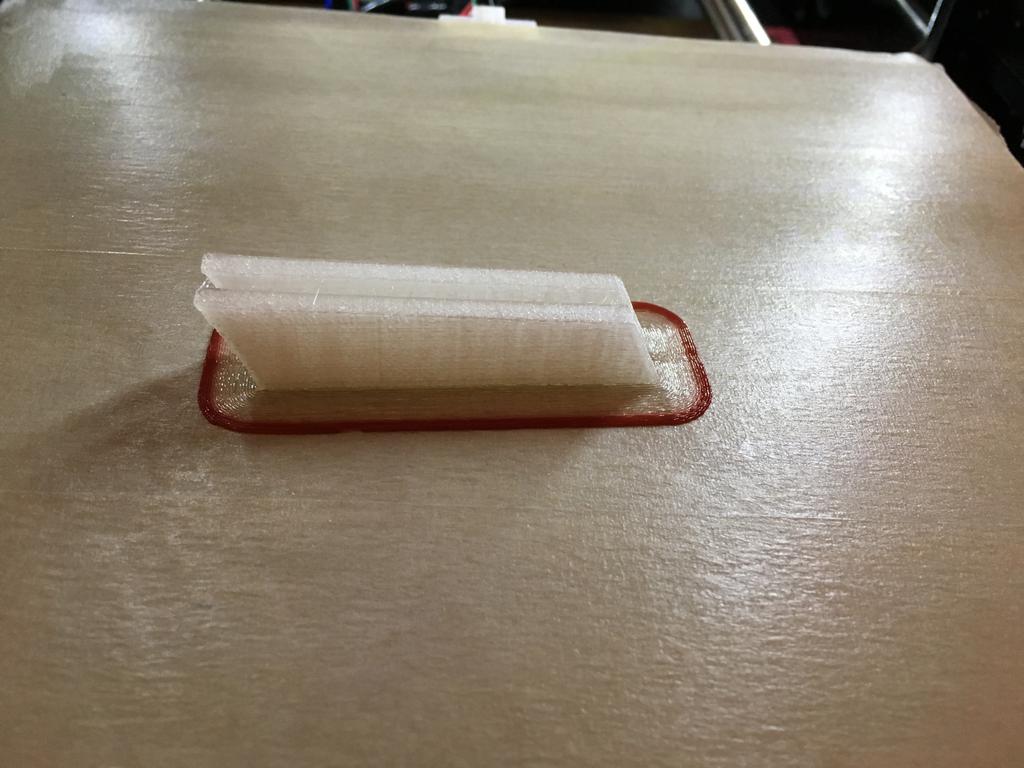
A different infill would have improved the print. I chose not to print the base but to print it in brown instead.
Make sure everything fits nicely.
The designer's idea of the small push connectors would still be better, go with them.
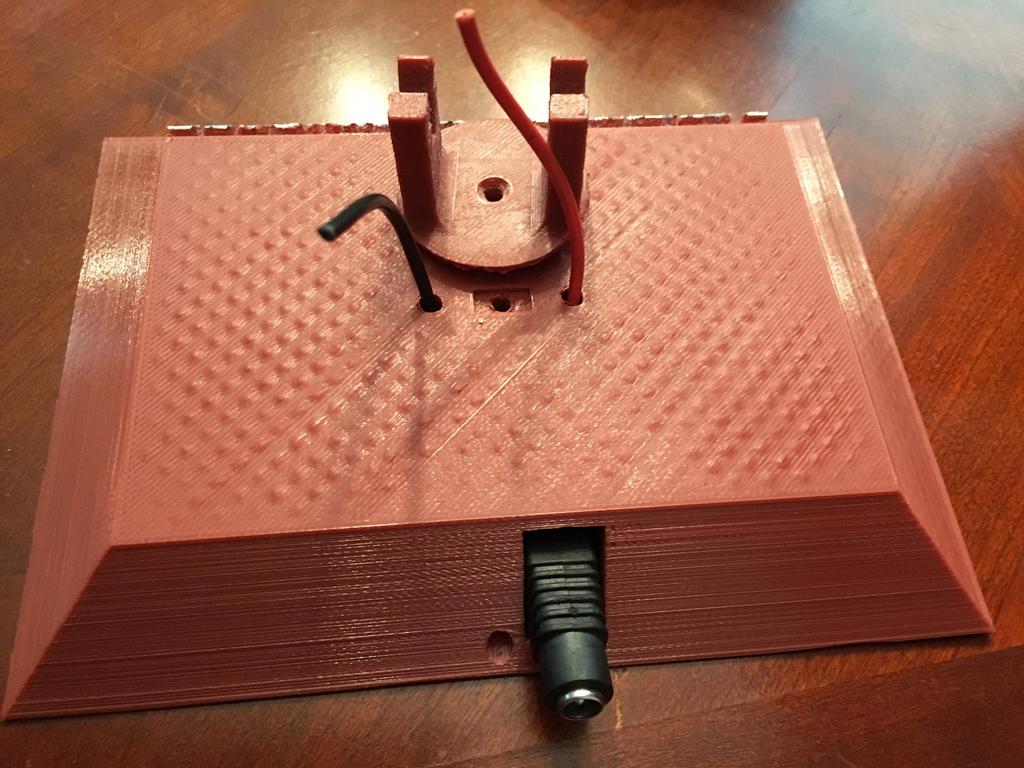
Connect the power supply to the sockets.
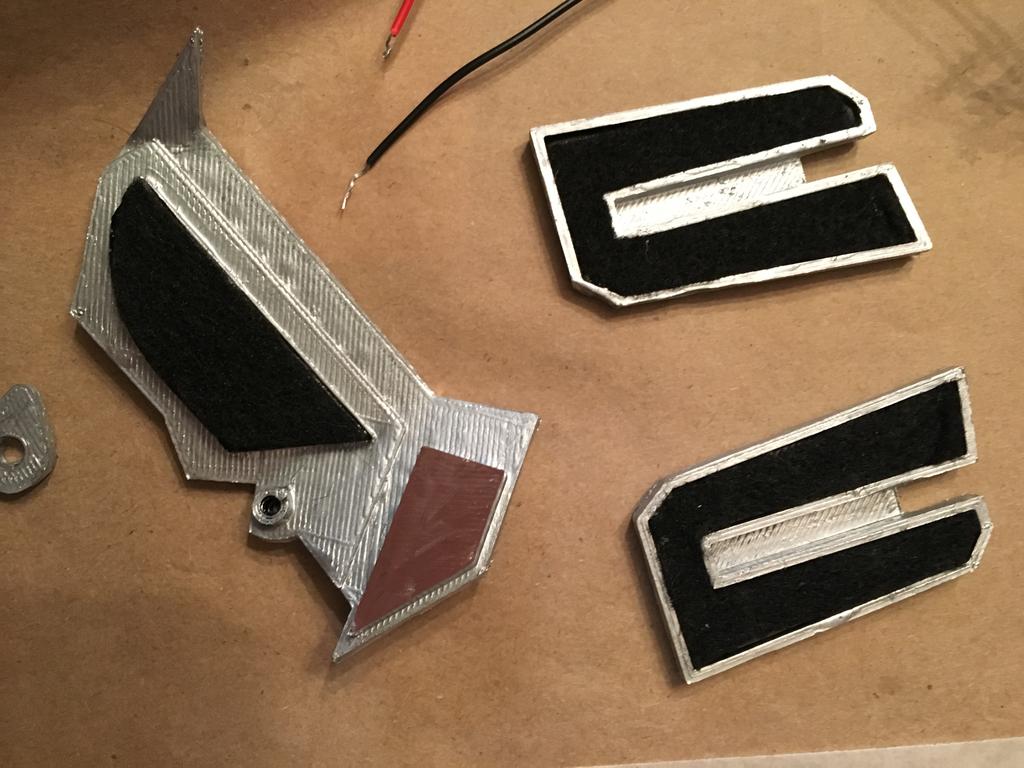
Paint under the areas you plan to cover in felt. The paint will mask any miss cut felt and the felt will cover the paint.
Paint areas like the holes in the grills black first.
Painting the piece black first gives a realistic look.
Superglue will turn the enamel model paint to colored glue.
After the black is finished drying, paint the remaining parts silver.
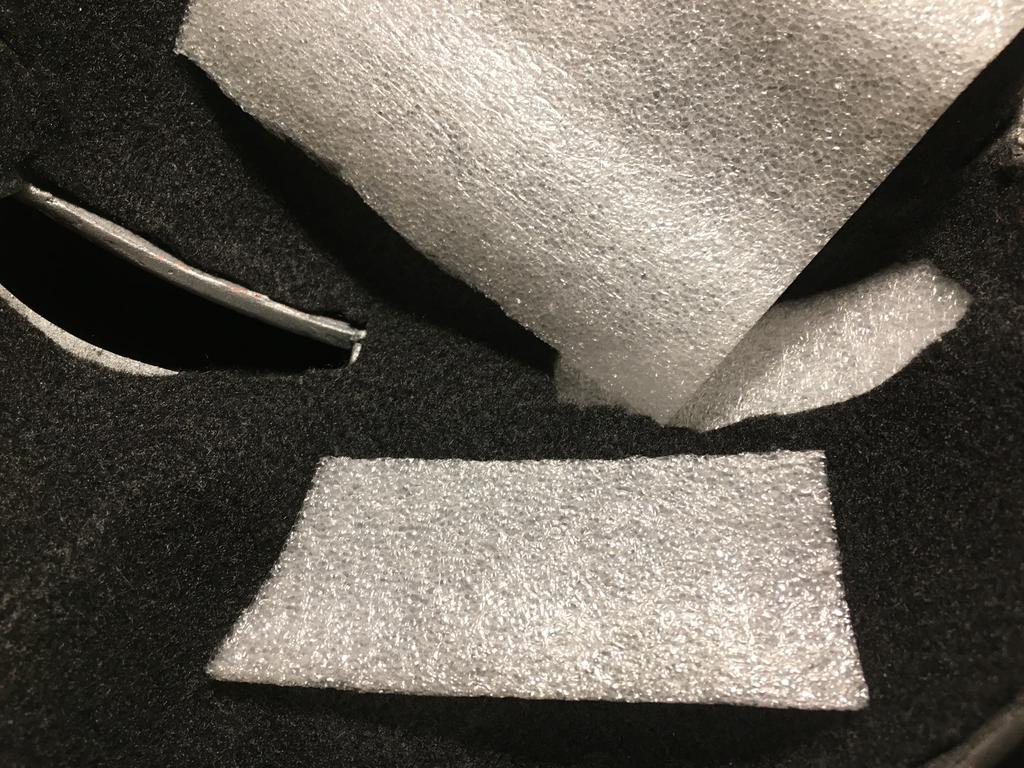
To hide the view into the faceplate while still diffusing the light, I used some thin recycled packing sheets.
This is the effect I wanted, you may want something different.
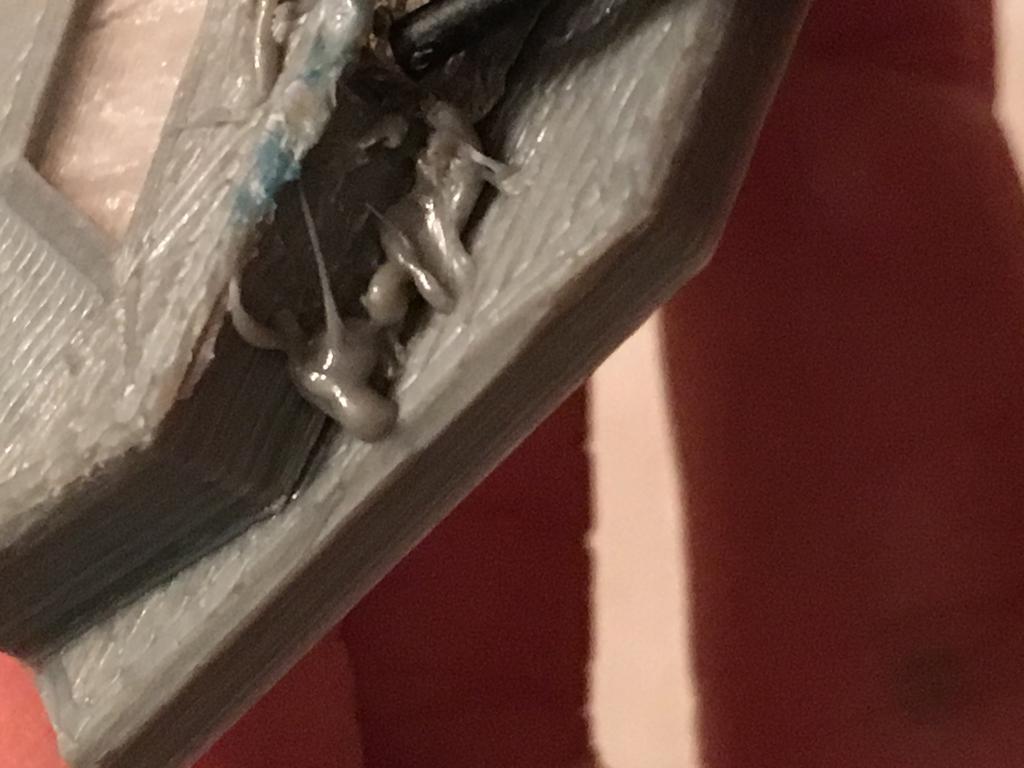
I used the 3D pen to fuse the two eye pieces together.
You can also fix loose lights with a little filament or glue.
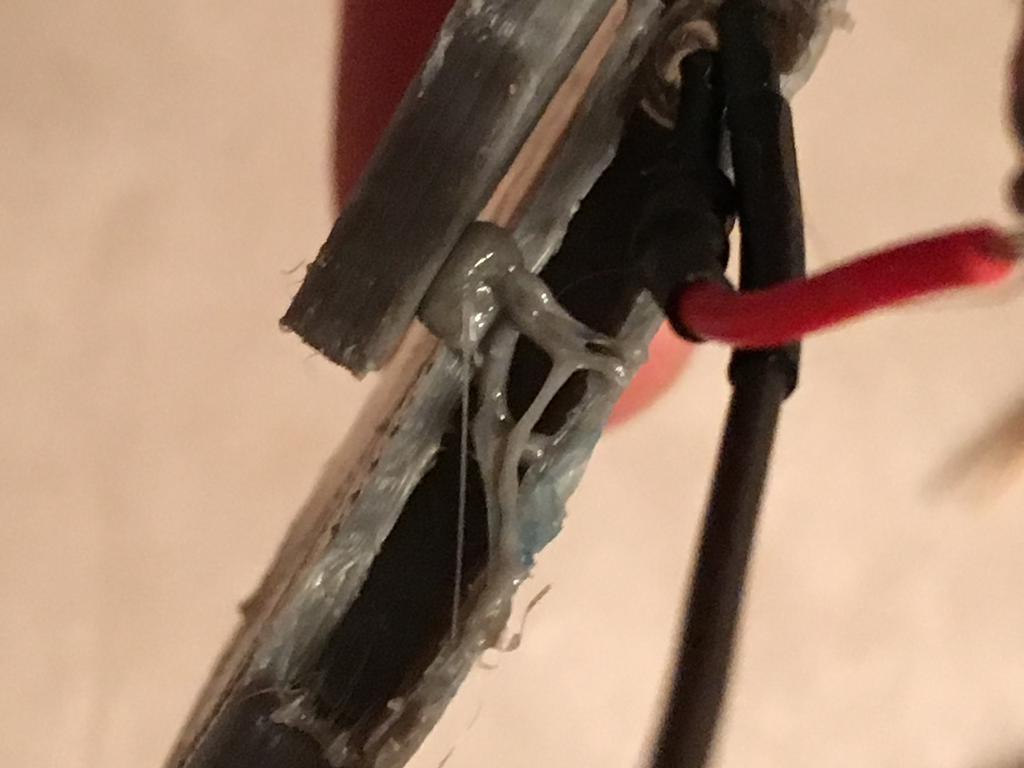
I was out of heat shrink, so I made due with the 3D printer pen.
Two parts are now one, and one is easier to install.

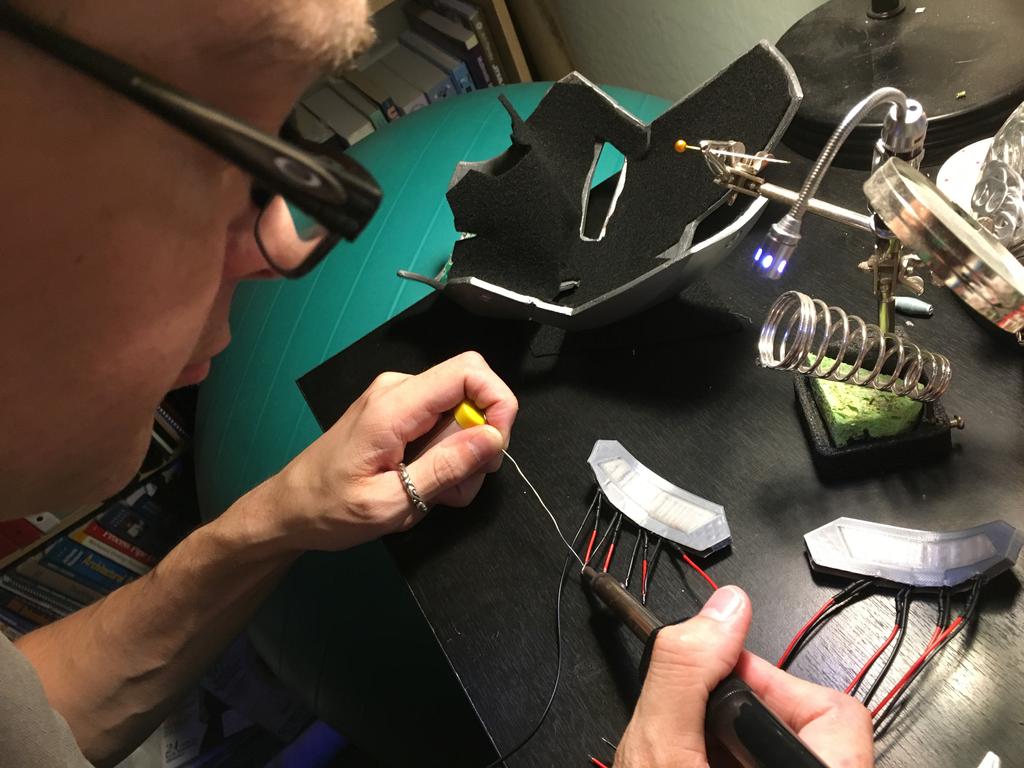
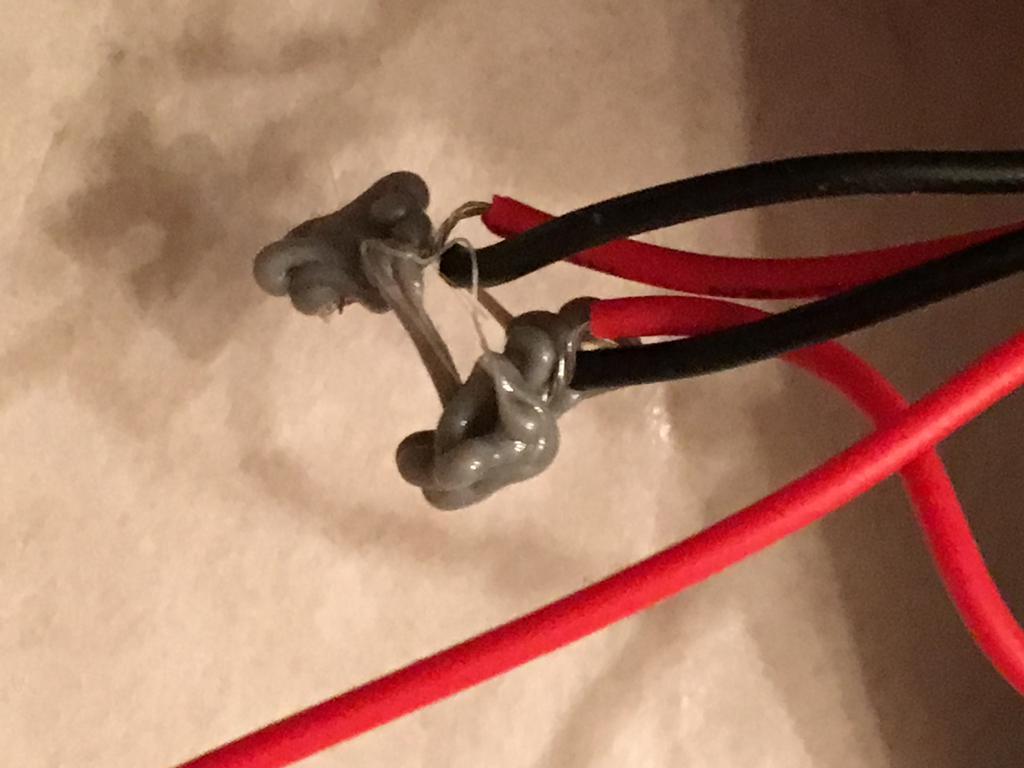
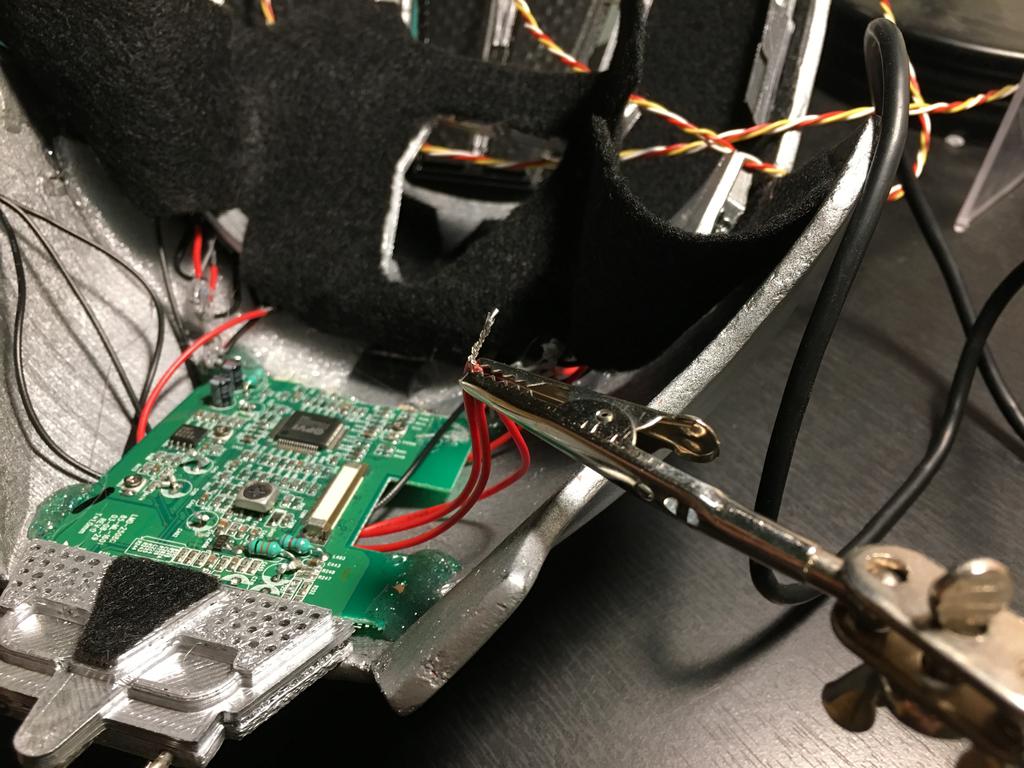
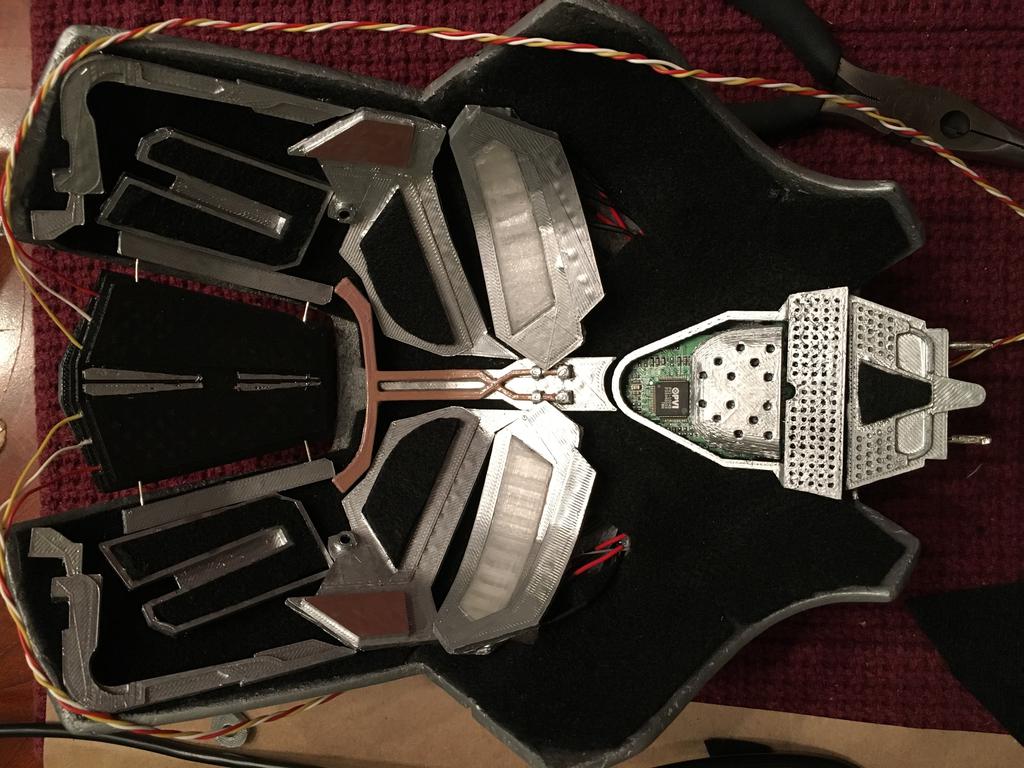
Link both eyes, solder all splices.
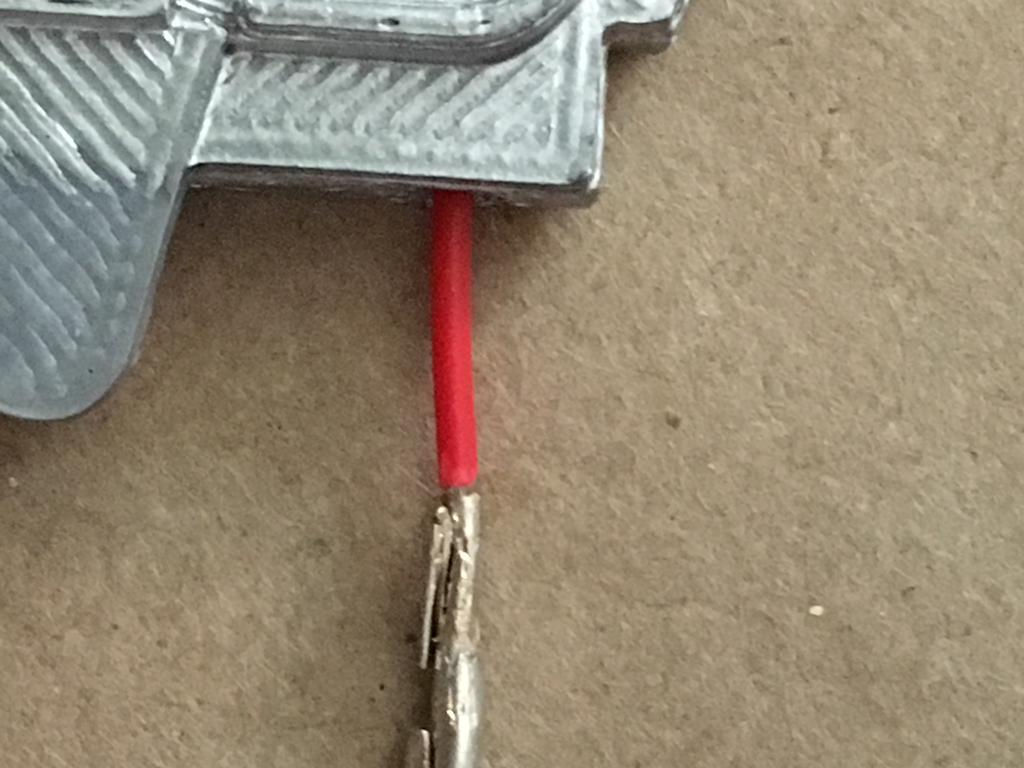
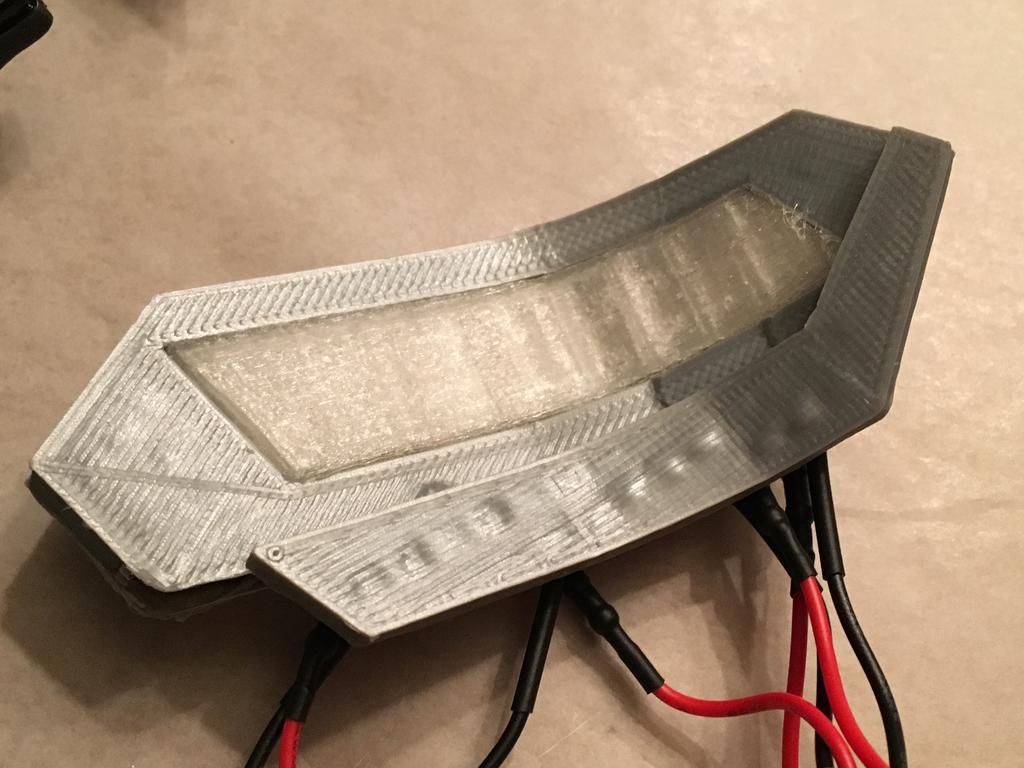
Run power wires through the base connector.
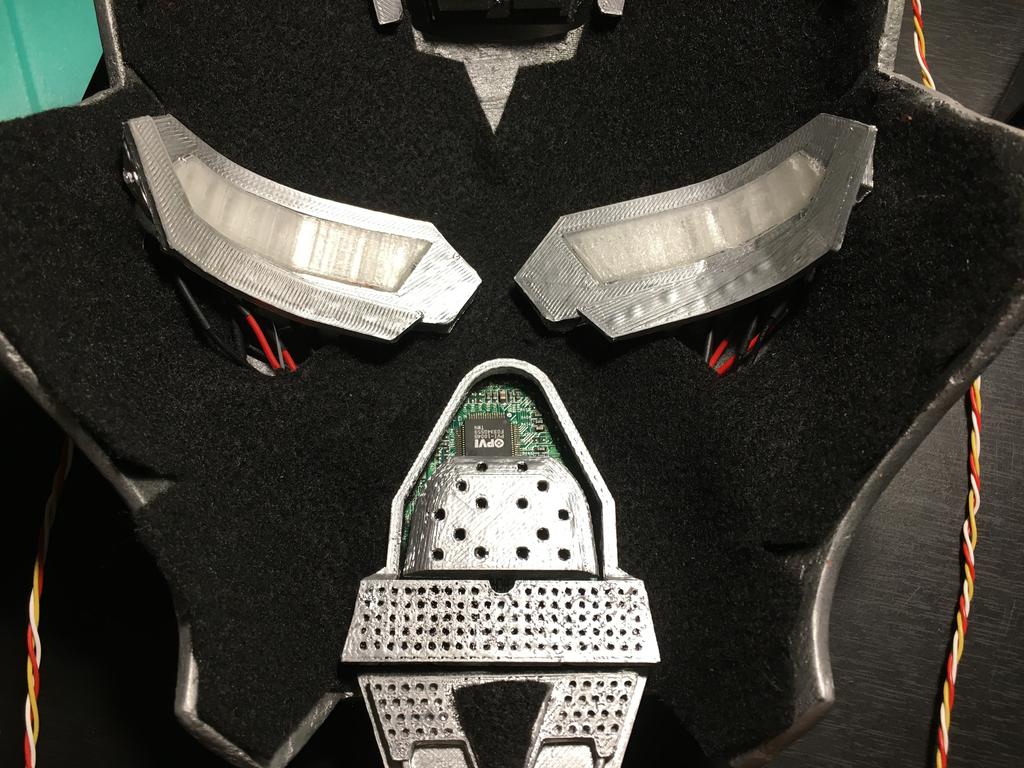
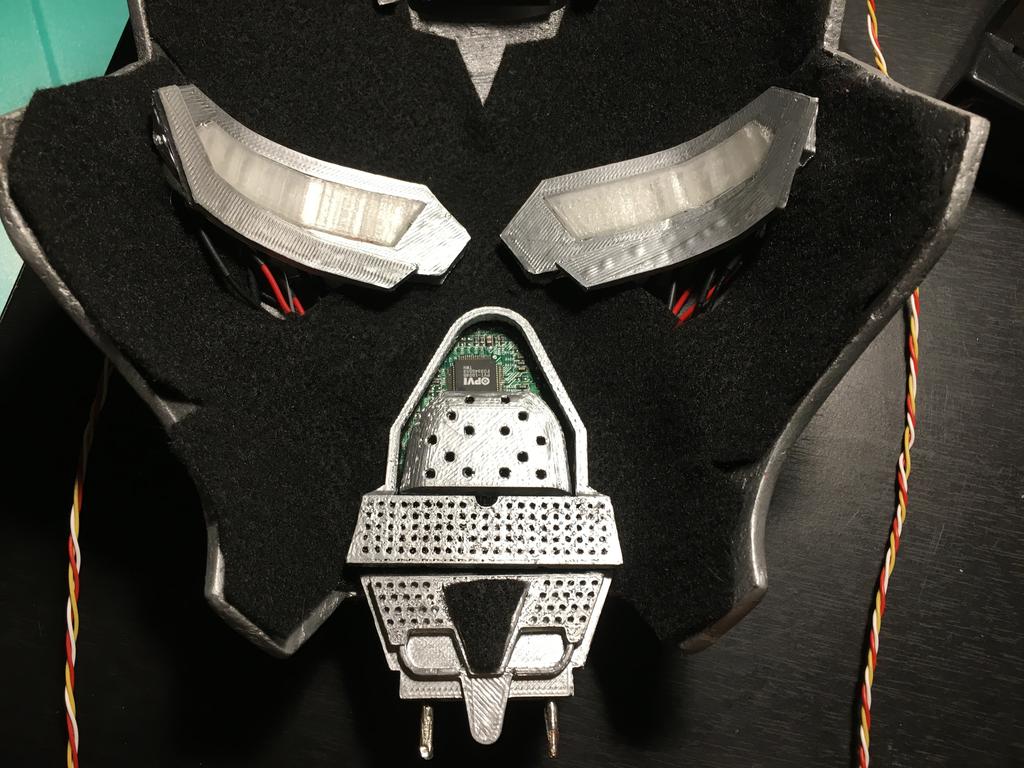
Make sure the felt and base connector hide the circuit board and wires passing through.
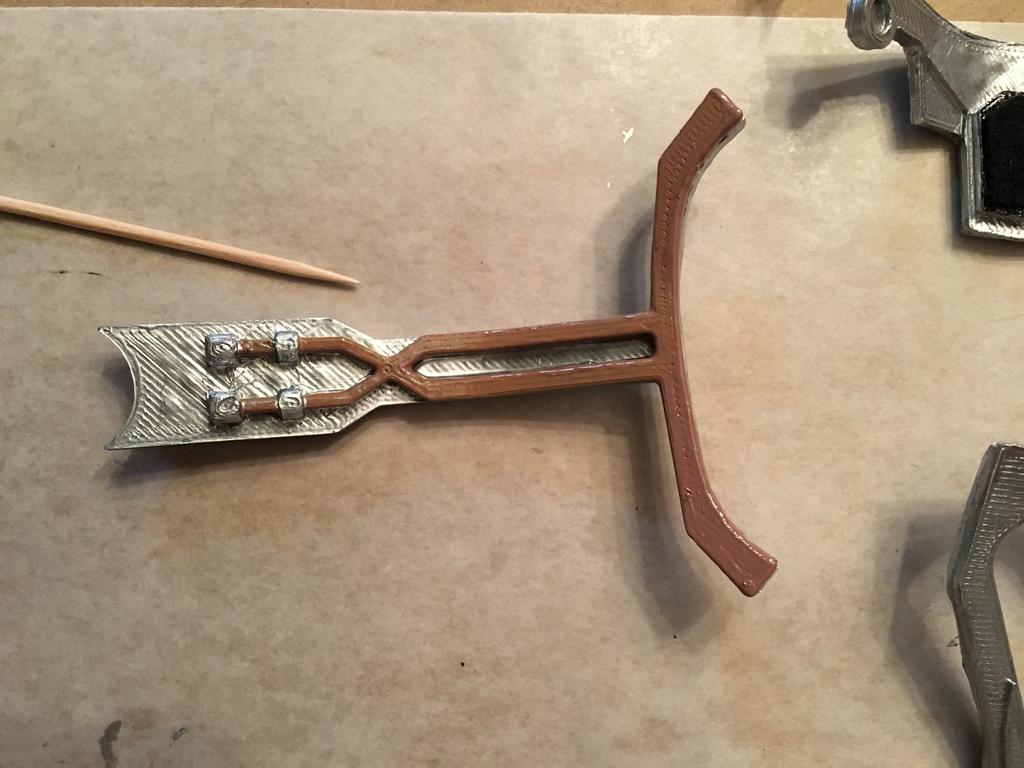
To give the tubes a real feel I used a lighter brown.
I really liked the look of the leather bits the designer suggested so I pained a few raised parts brown for effect.
Cut and glue felt over the areas we've painted black.
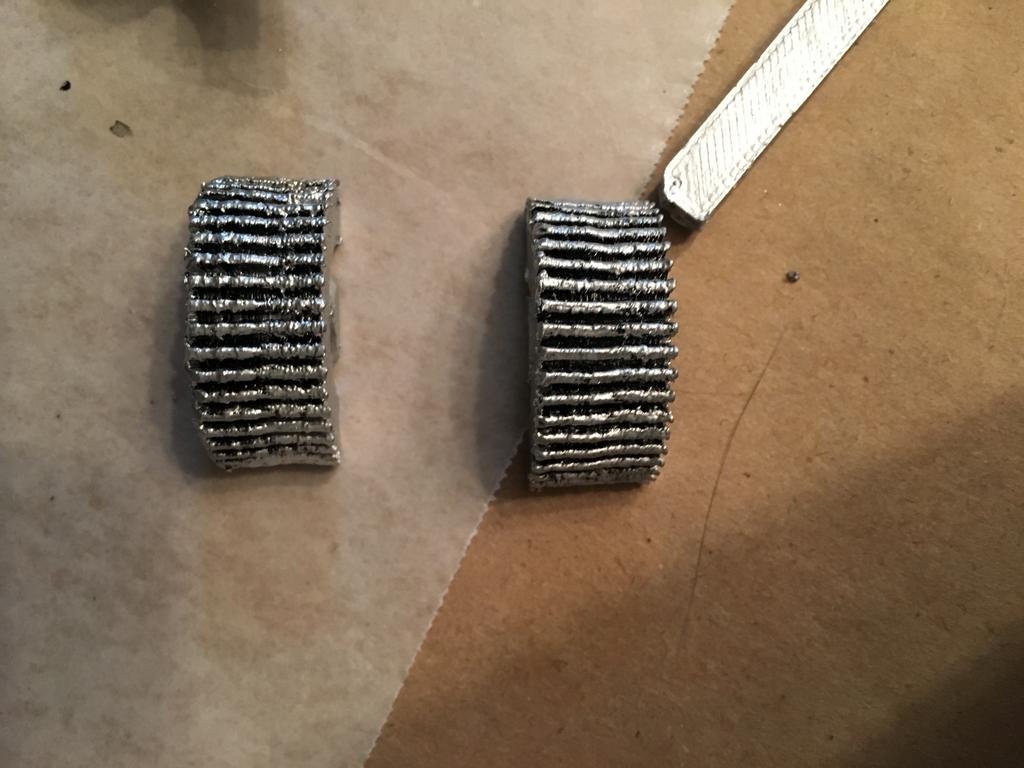
To give the gear teeth depth we painted the deep parts black and lightly brushed silver across the face of the teeth.

I used an old IDE CD-ROM digital audio direct cable (from an old PC), striped the shielding, and clipped off the plugs to make the three wire effect.
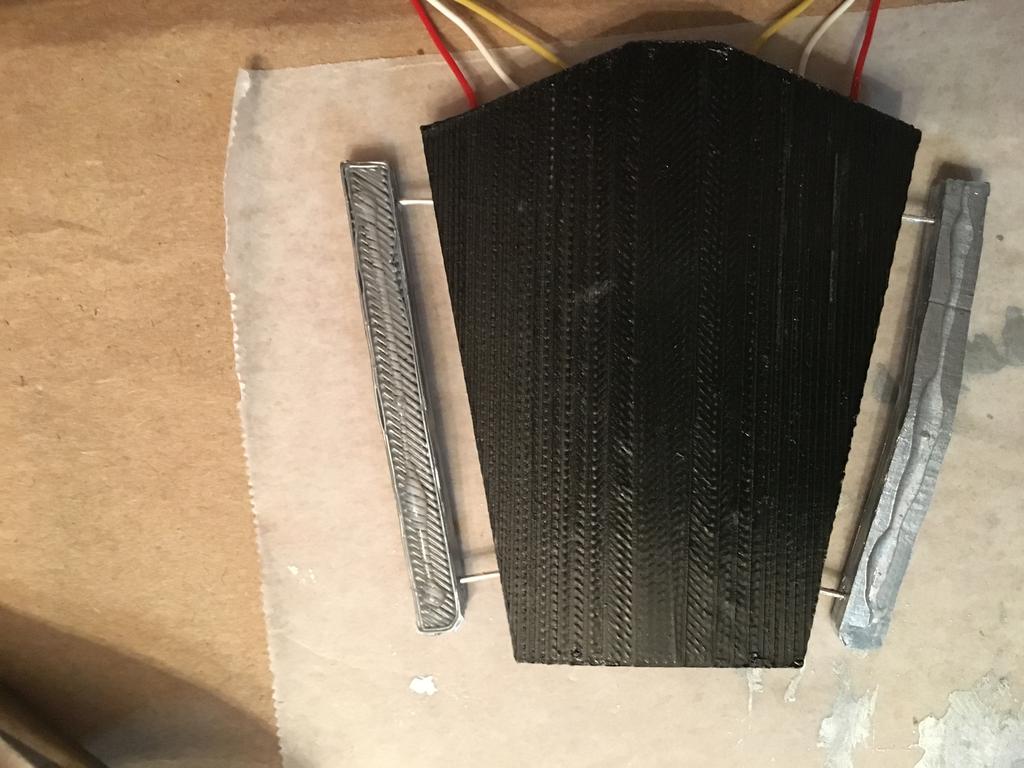
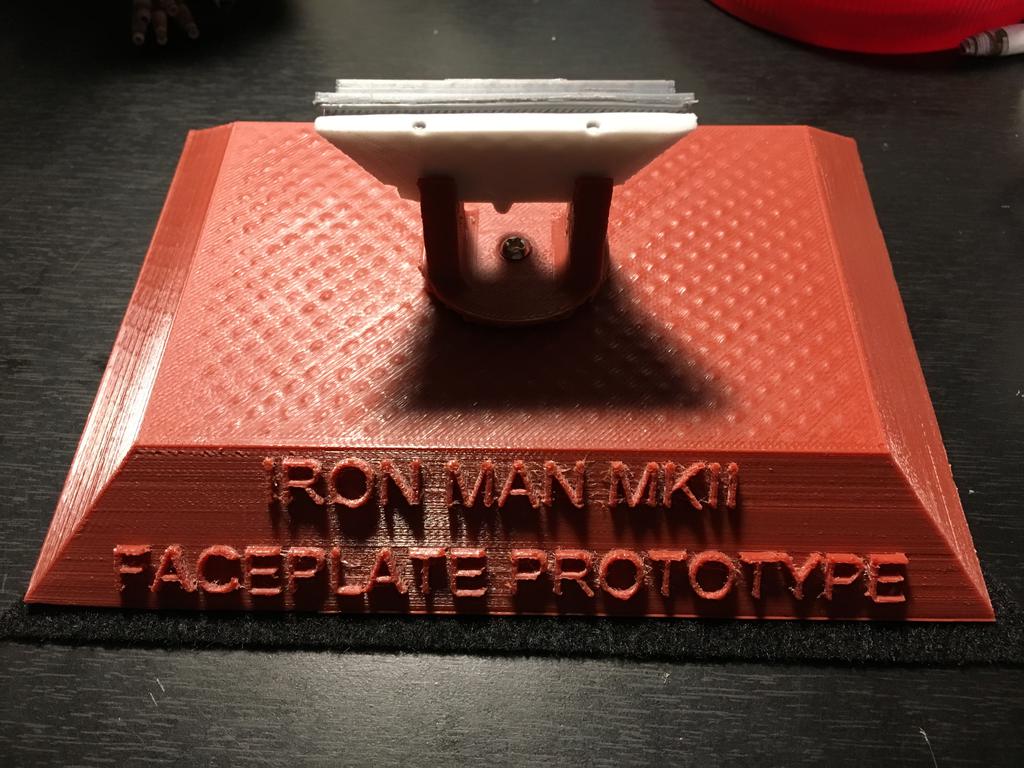
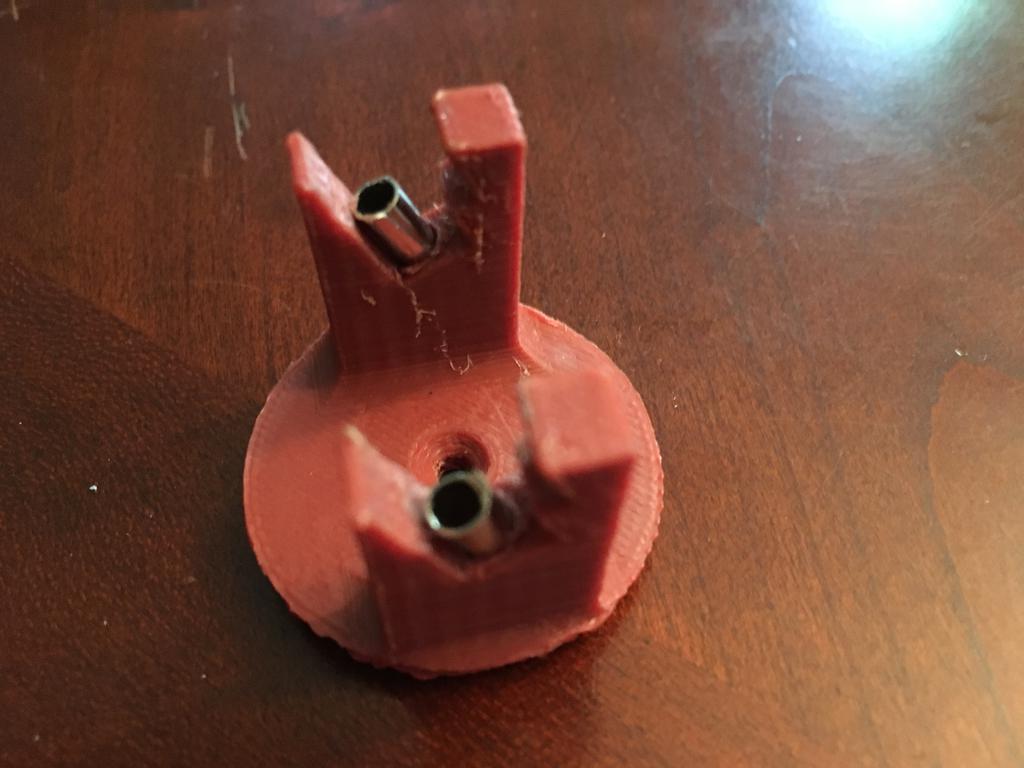
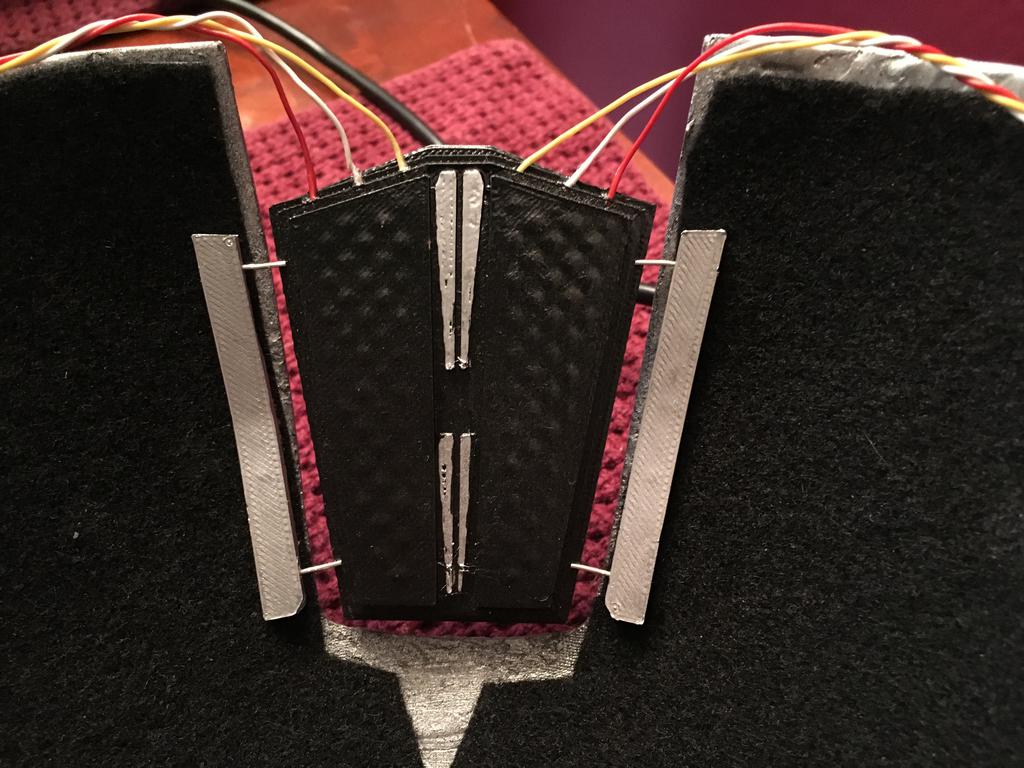
The supports for the top center piece are held together by craft wire inserted through the holes on the supports.
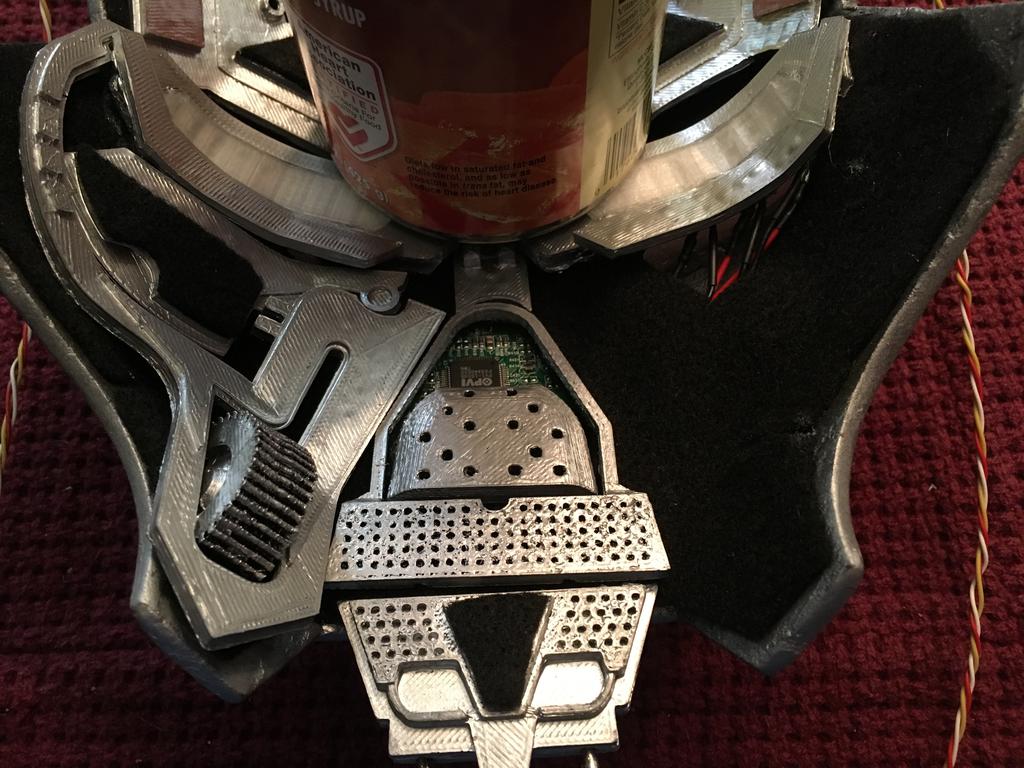
Glue the top center piece in place and allow it to set. Remember to work from the top of the mask down.
With the frame glued to the felt, use an Xacto knife and some needle nosed pliers to cut the window in the felt.
I wired each light in series and both lights in parallel.
We don't want them coming apart, electircal tape is useless long term.
After working with the felt repeatedly it tends to stretch in places. This is ok so long as it still fits neatly.
Glue the felt to the faceplate from the top down to above the eyes.
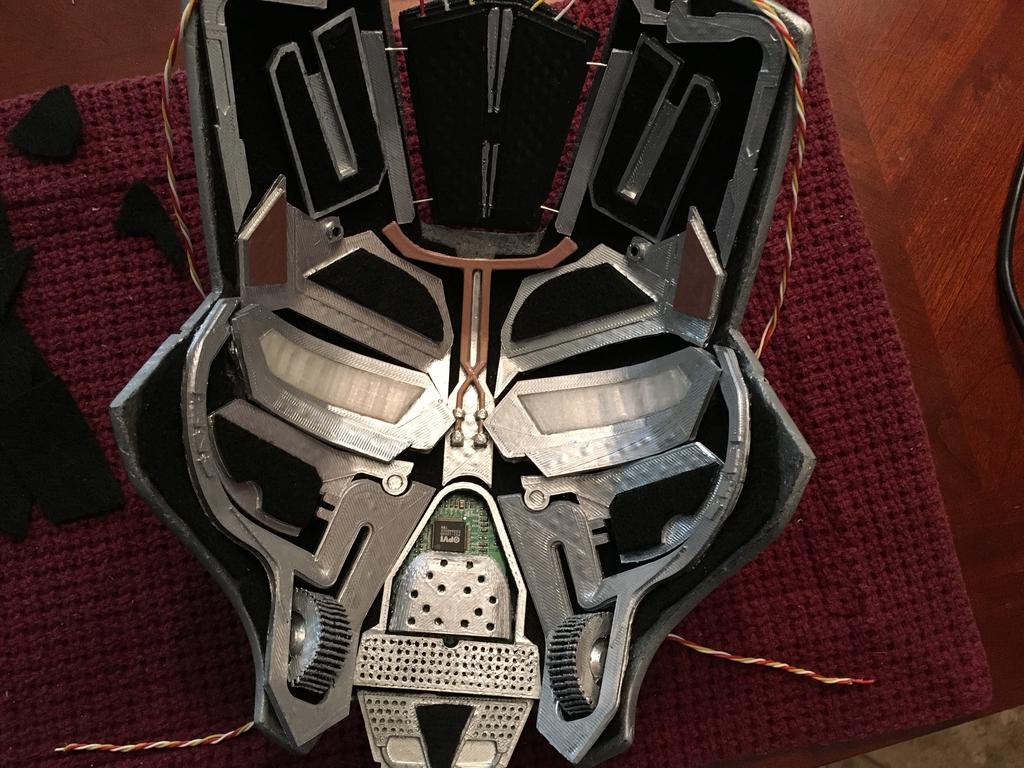
From the top, start gluing in the details.
Glue the top details on down to the eyes. Let them dry.
Glue the eyes down. I glued them as flat as possible. Use a gentle weight and let them dry.
There is some coordination needed for the cheek areas.
Find a means to bend the pins at the same time. This can actually be tricky.
Glue the center piece in place.
I love this detail!
Finally glue in the encircling wire effect.
Let everything dry before subjecting it to gravity.
Fan or not, you'll love it!
Fan or not, you'll love it!
Fan or not, you'll love it!
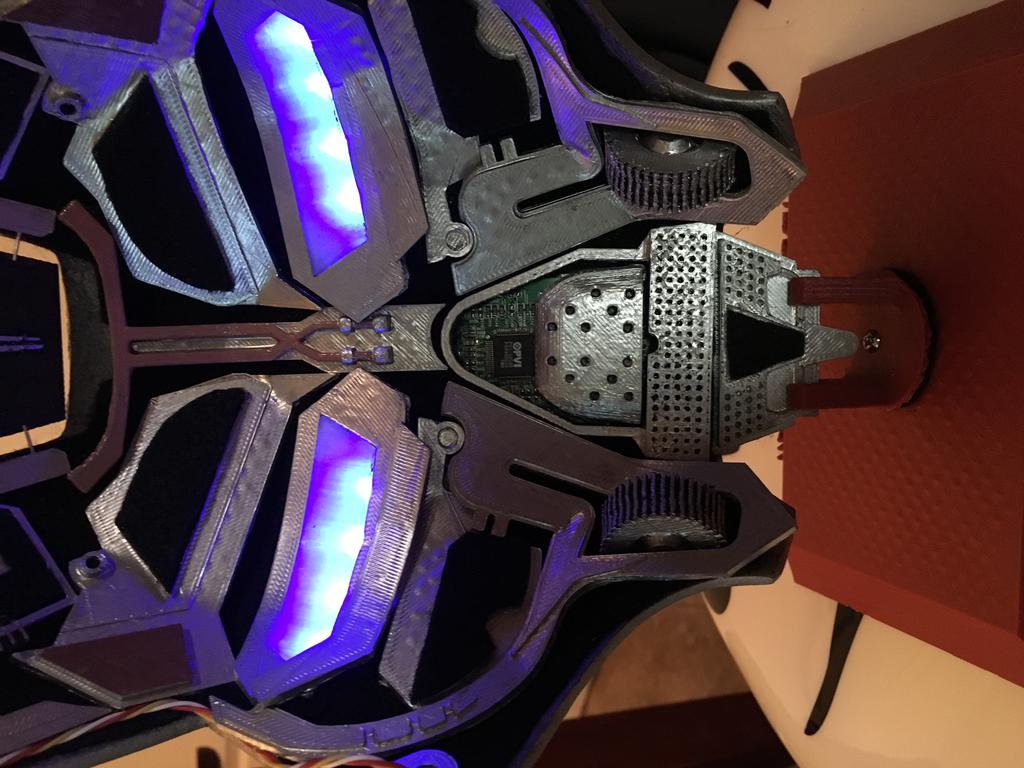
Fan or not, you'll love it!
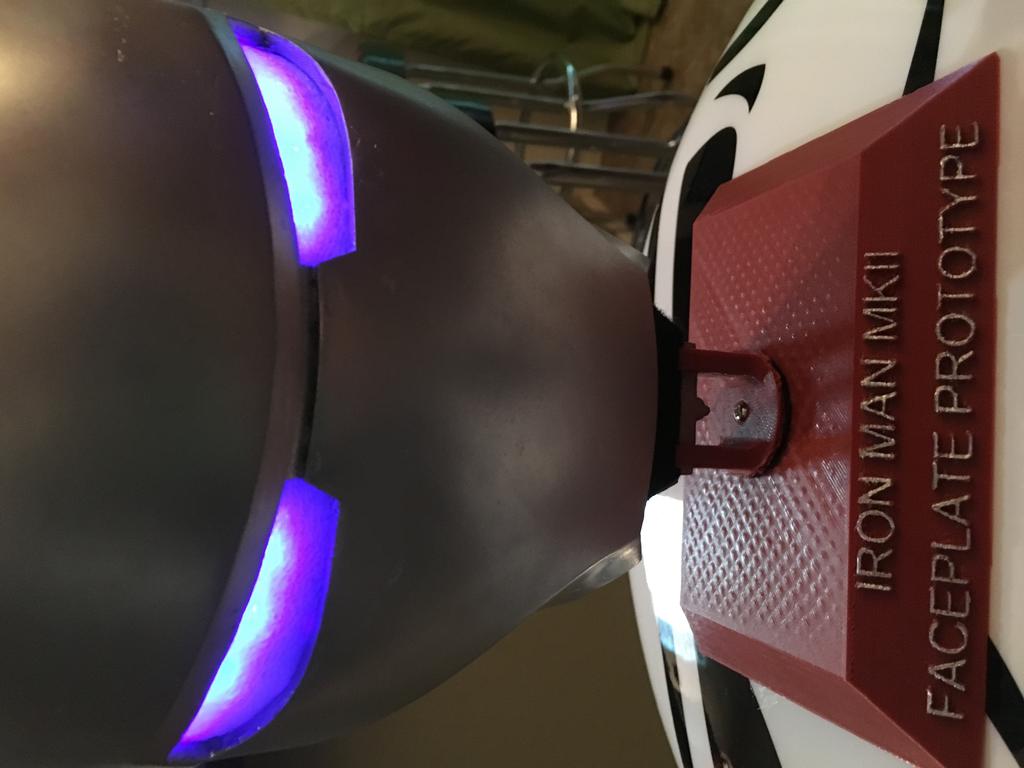
Fan or not, you'll love it!
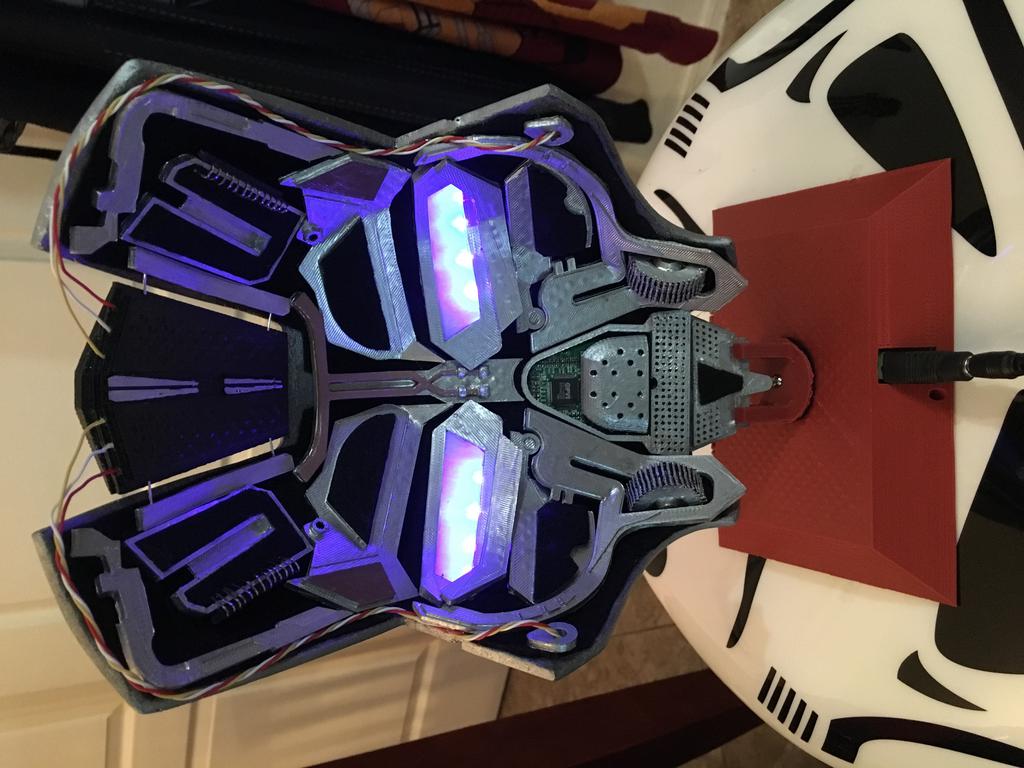
Fan or not, you'll love it!
Fan or not, you'll love it!